Install Oqtane as CMS - Walkthrough for Developers
This demonstrates a step-by-step walkthrough to install Oqtane on your local development machine. It shows both how to get it running in Visual Studio, as well as installing the extension CMS module 2sxc.
Prerequisites
This assumes that you have the following software installed on your machine:
- Visual Studio latest version
- .NET Core SDK latest version
- SQL Server
If you need guidance on installing any of these prerequisites, refer to the links above.
Video
Most of what you see here is also available in a video format.
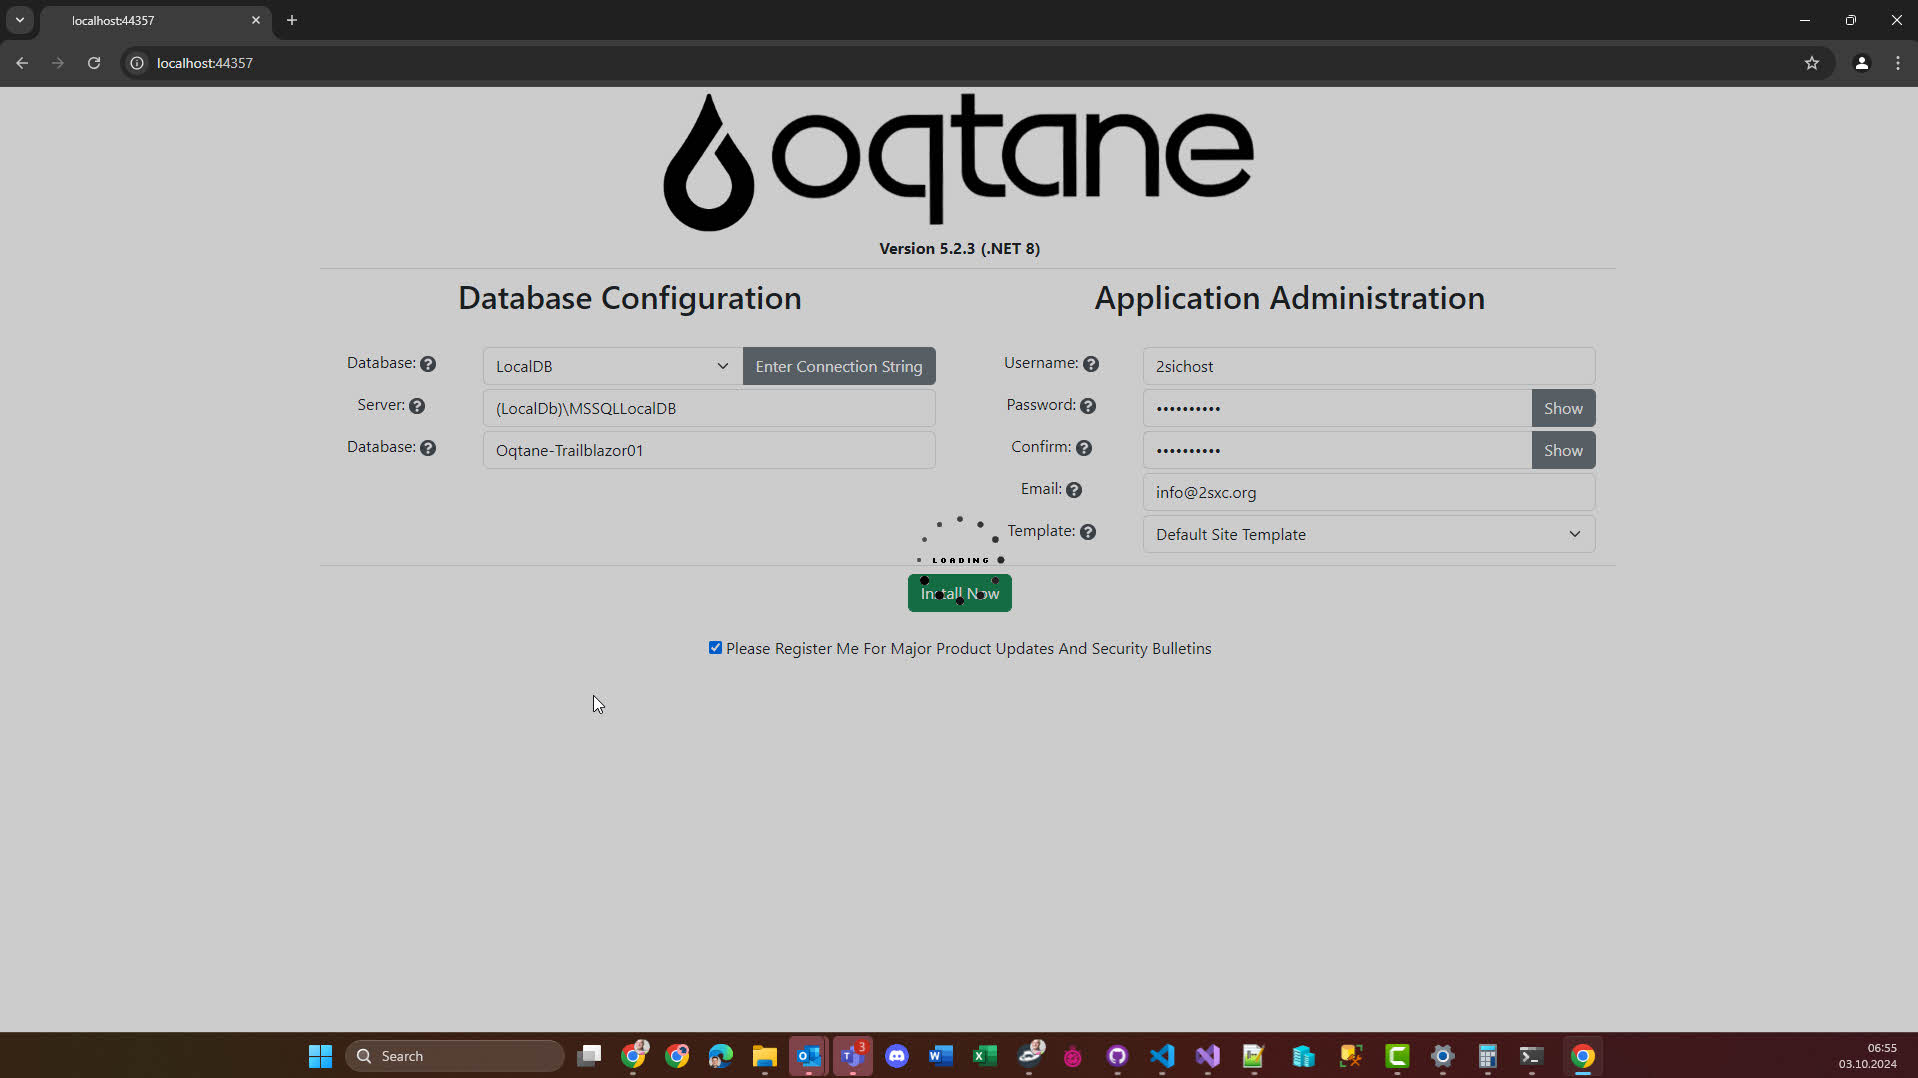
1. Install Oqtane
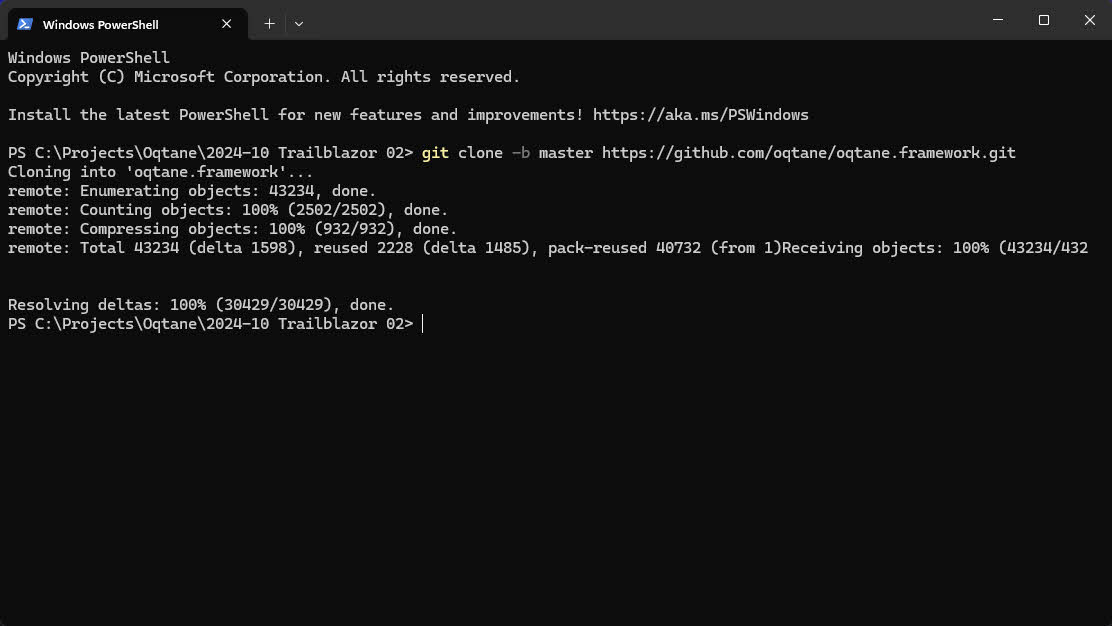
These slides start by running
git clone -b master https://github.com/oqtane/oqtane.framework.git
to get the latest build, then
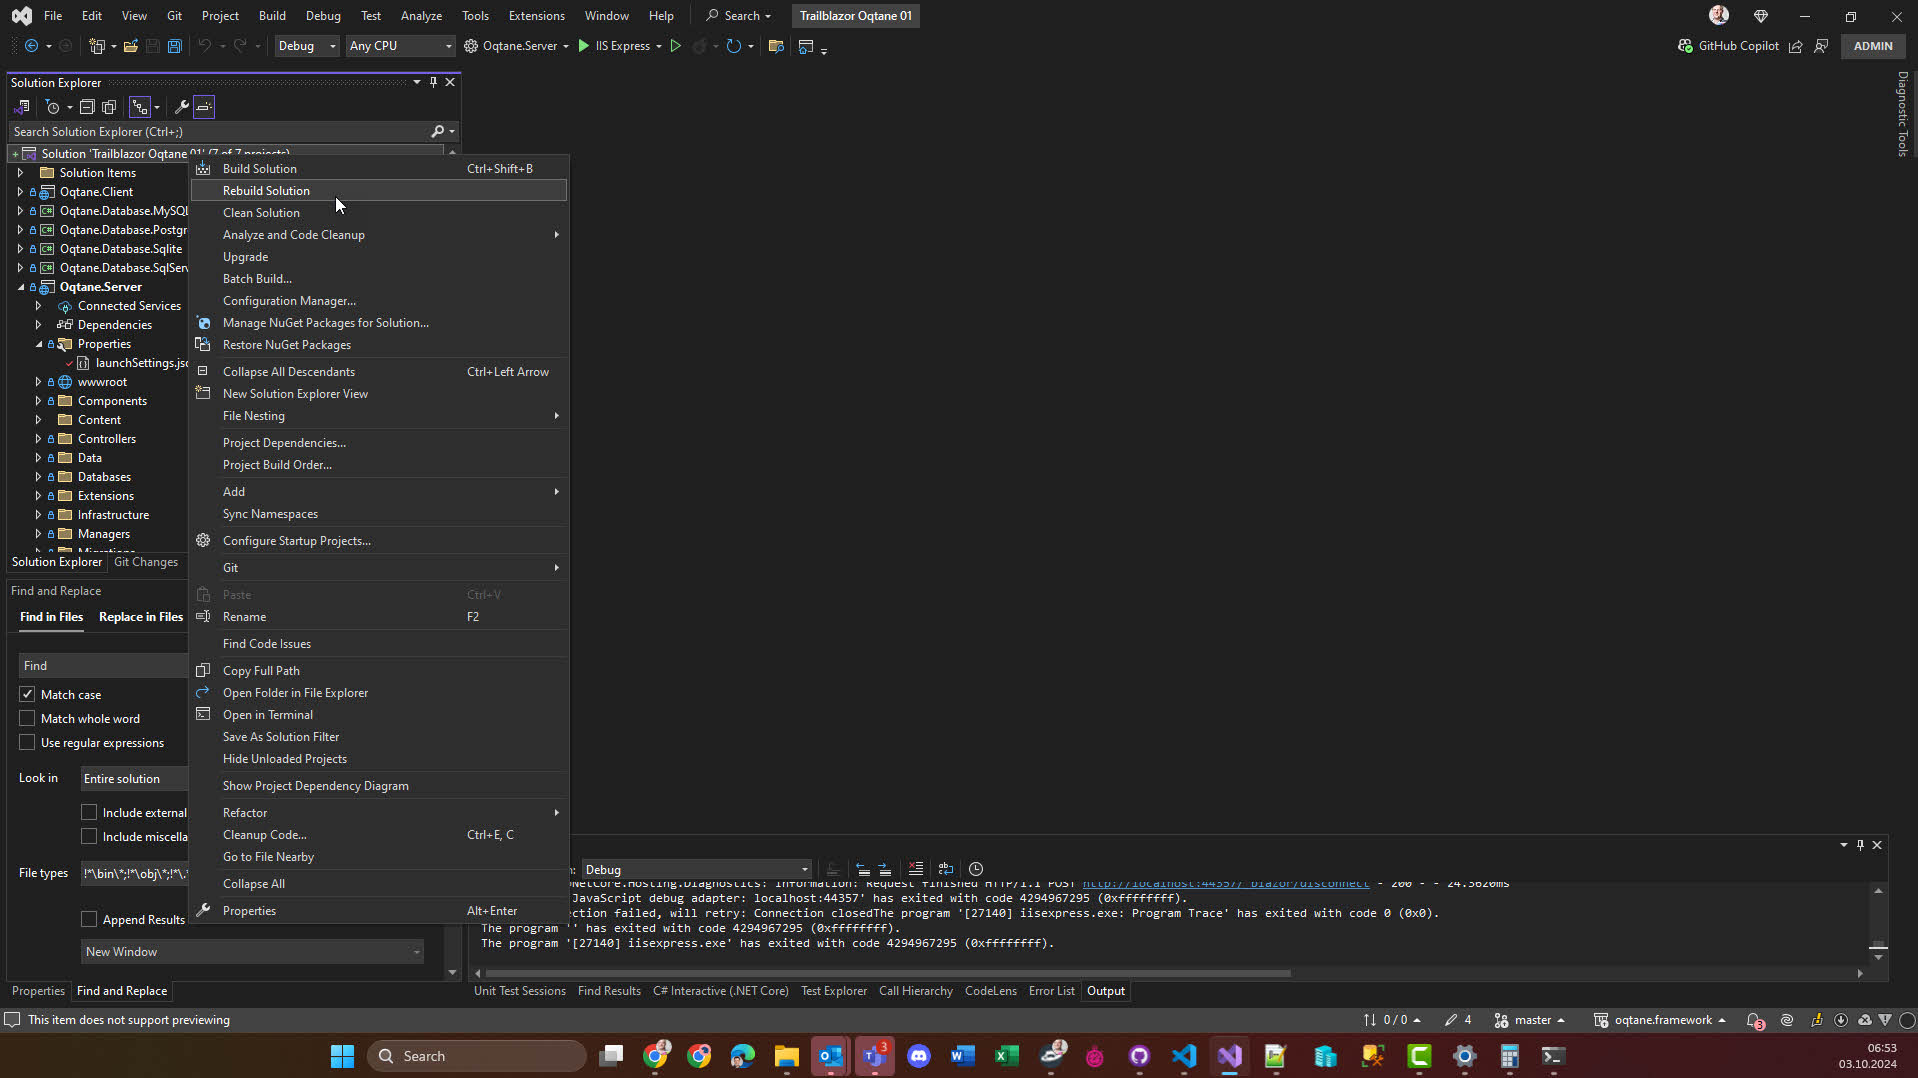
- open the solution in Visual Studio
- make minor adjustments
- compile it
- run it
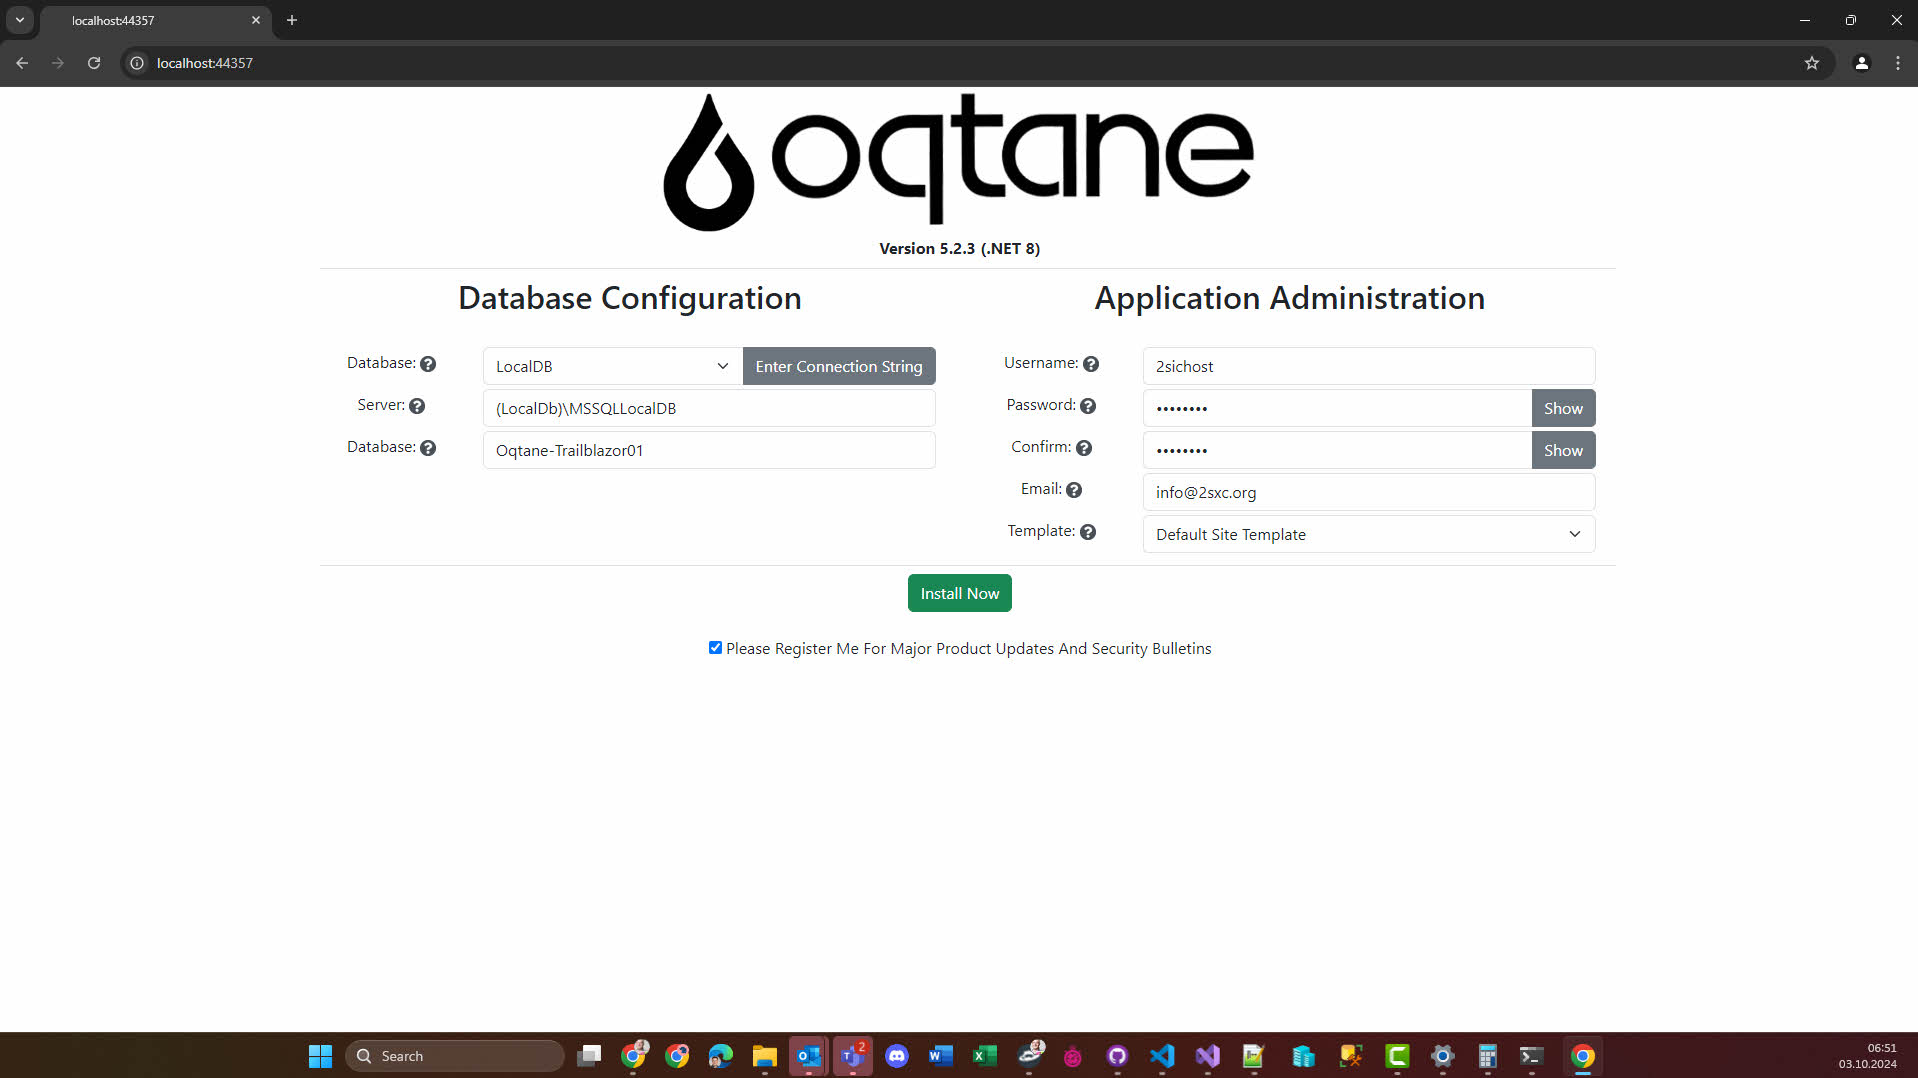
- specify the database connection etc.
- let the installation run
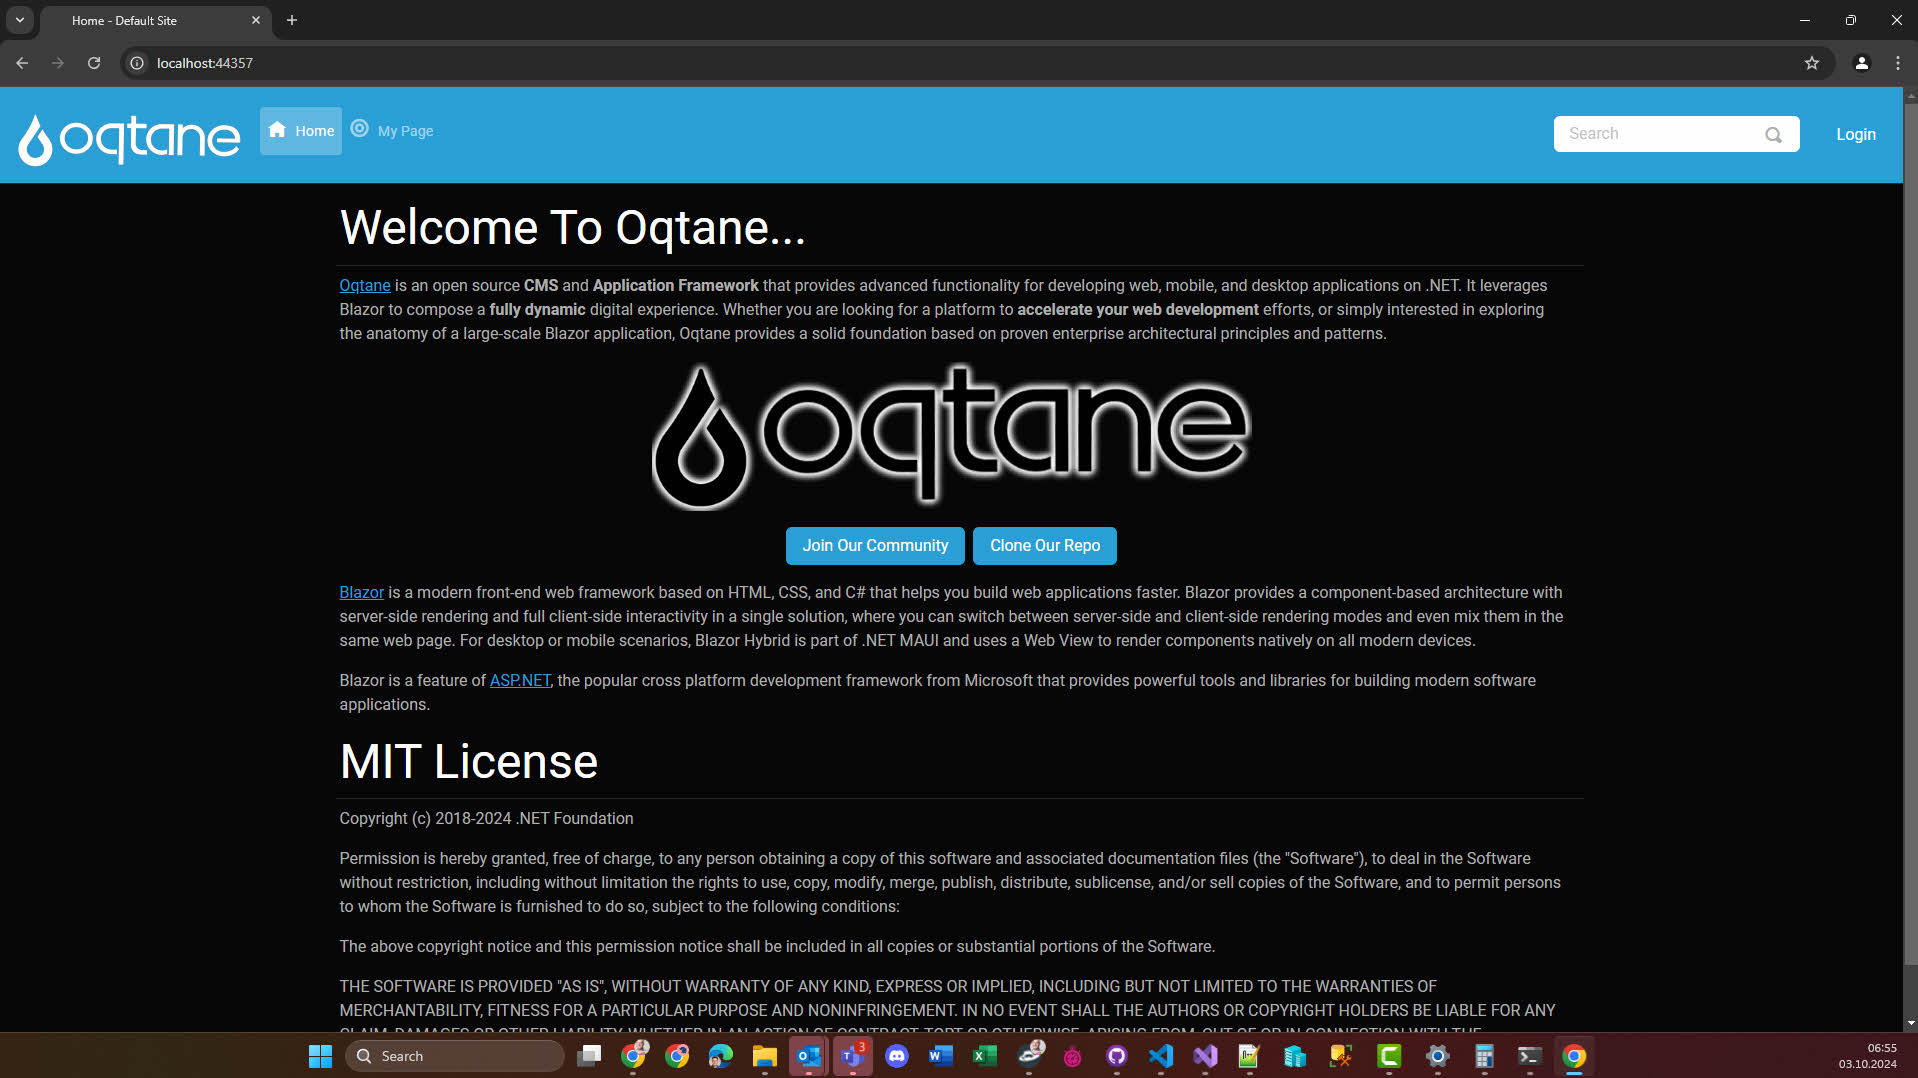
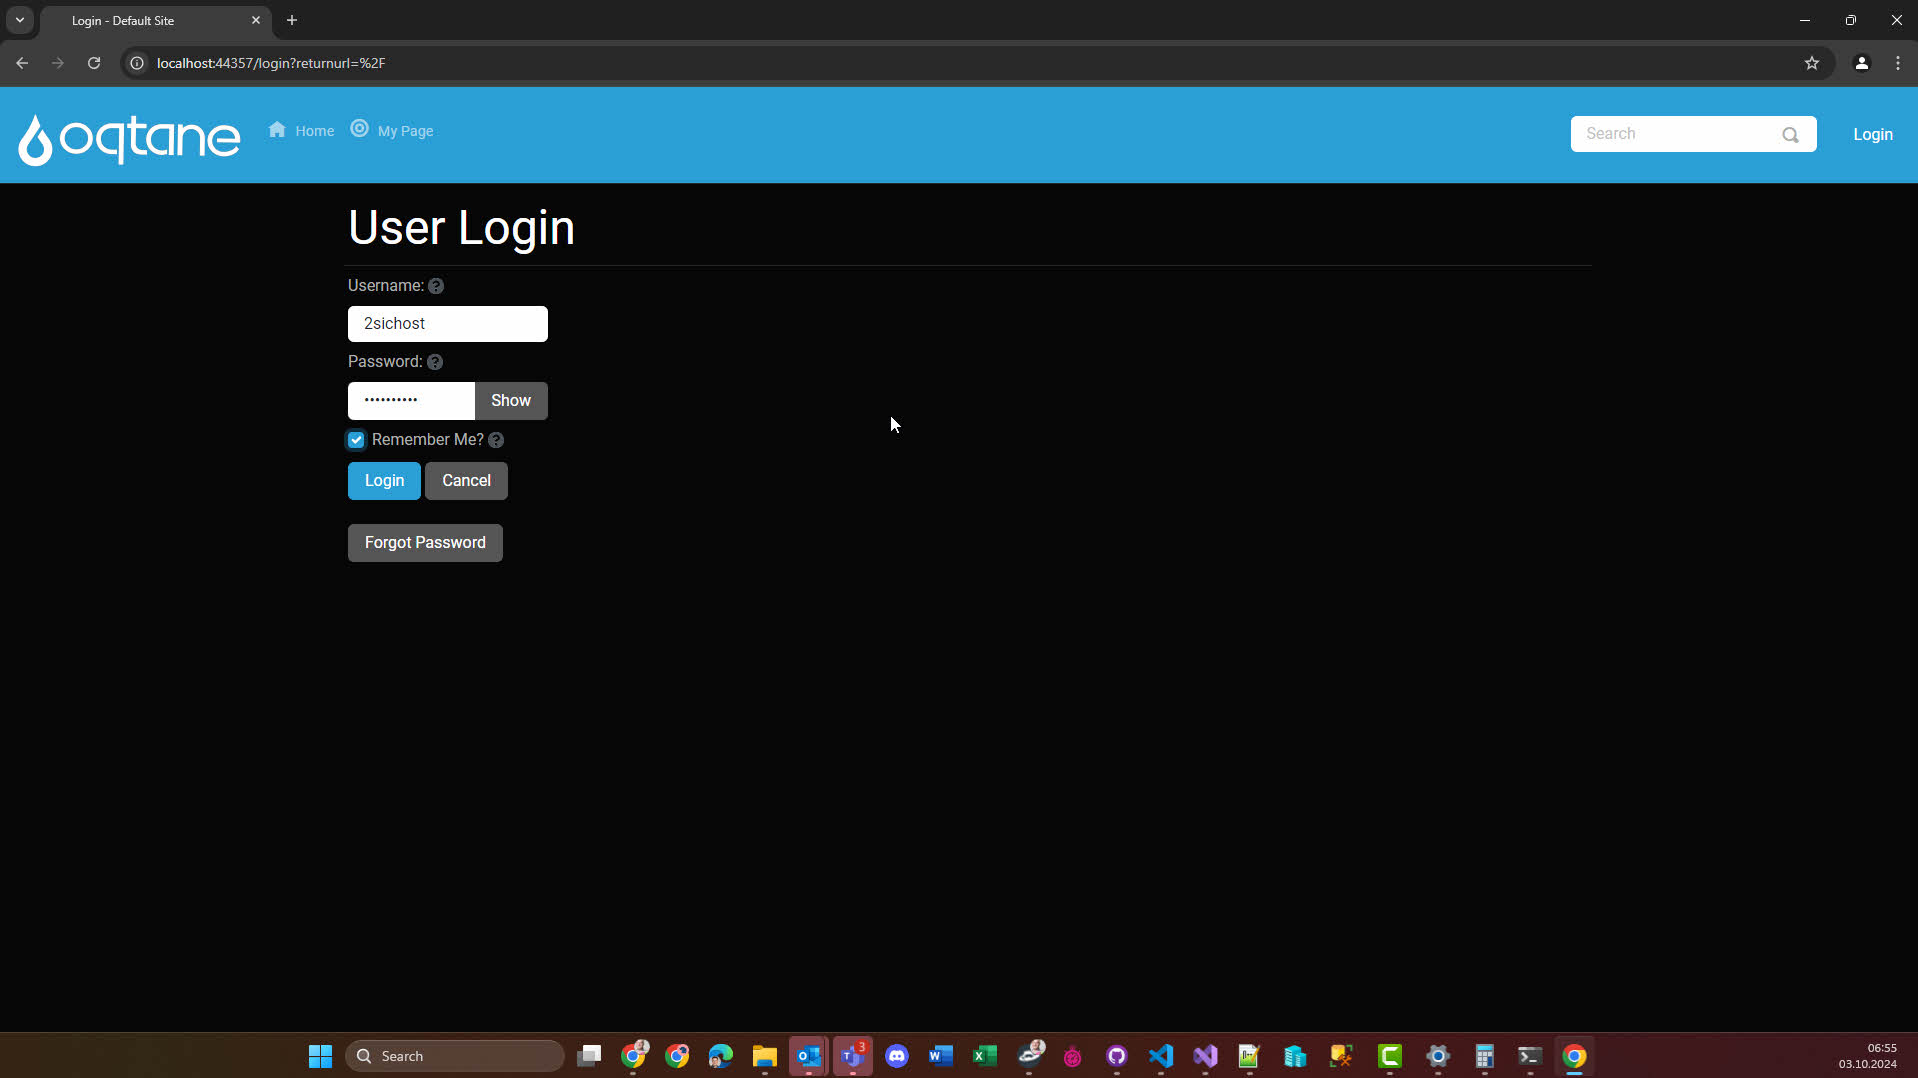
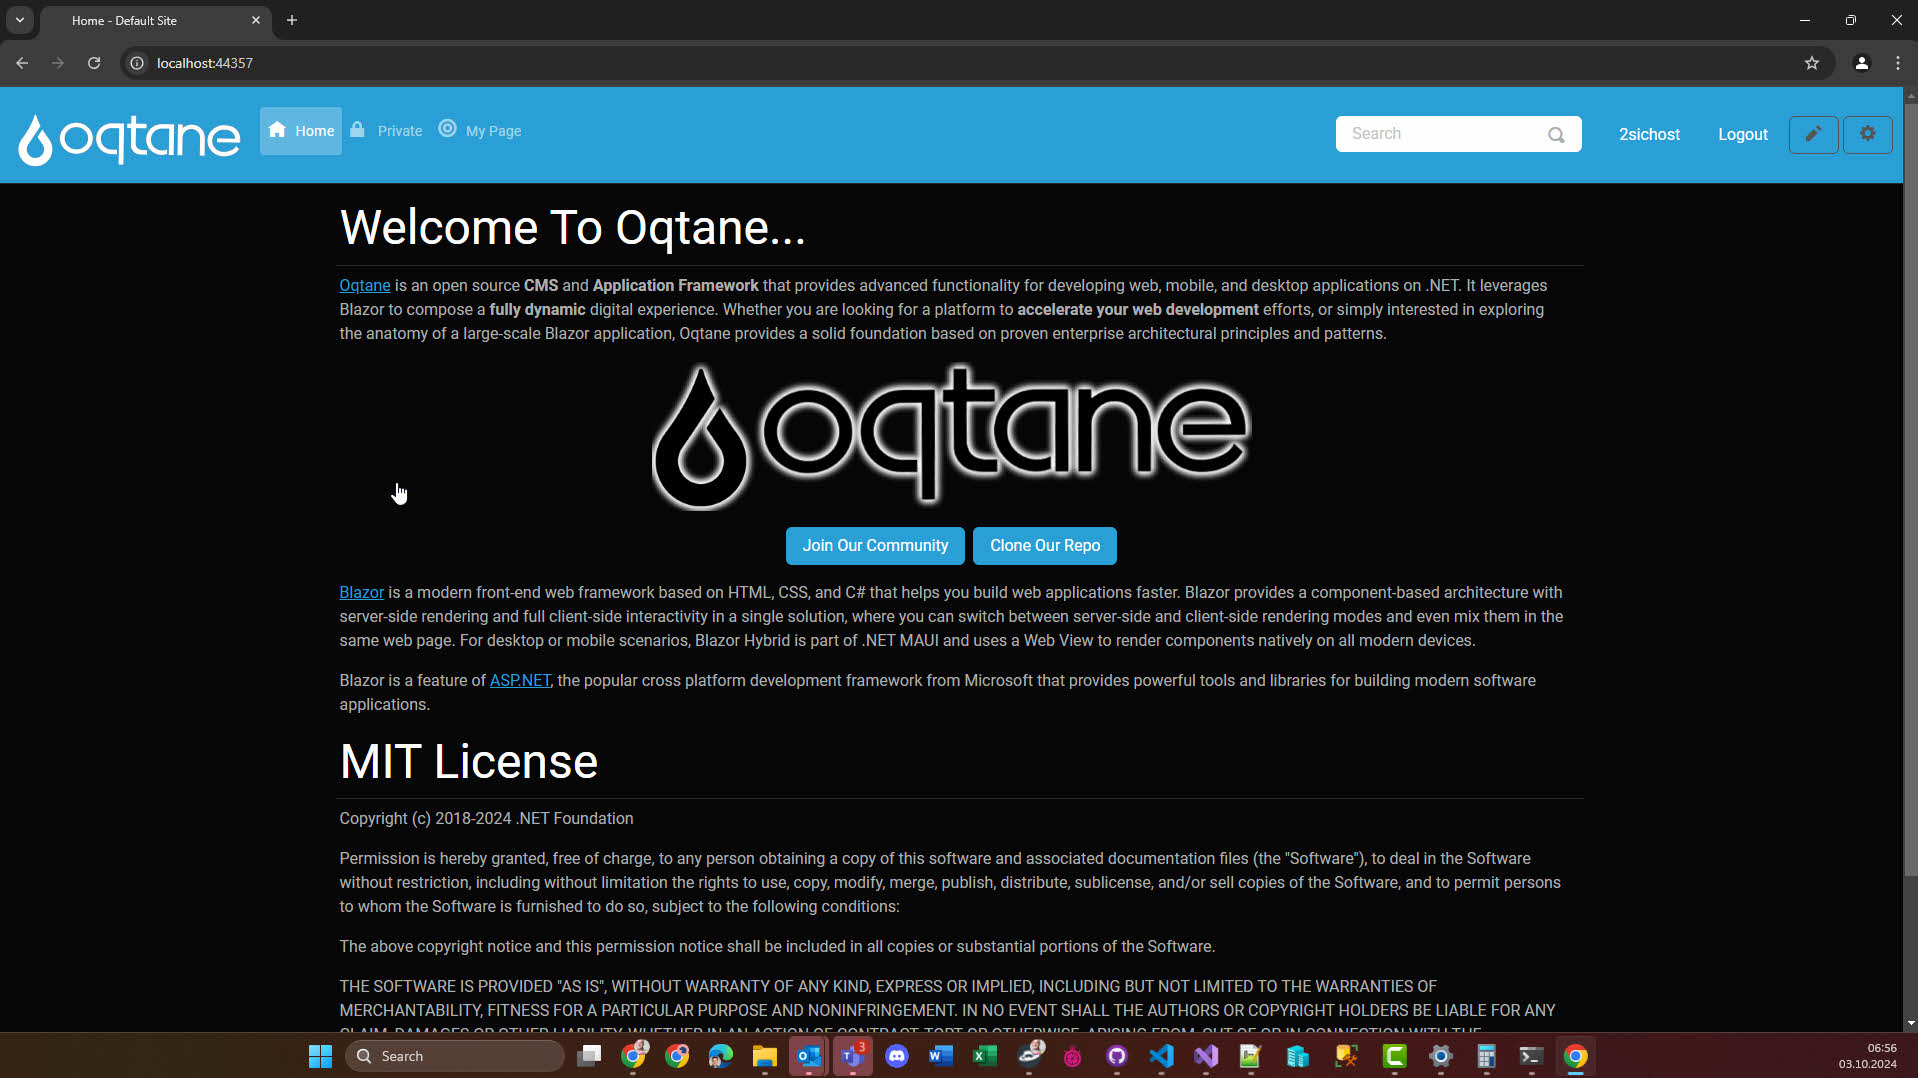
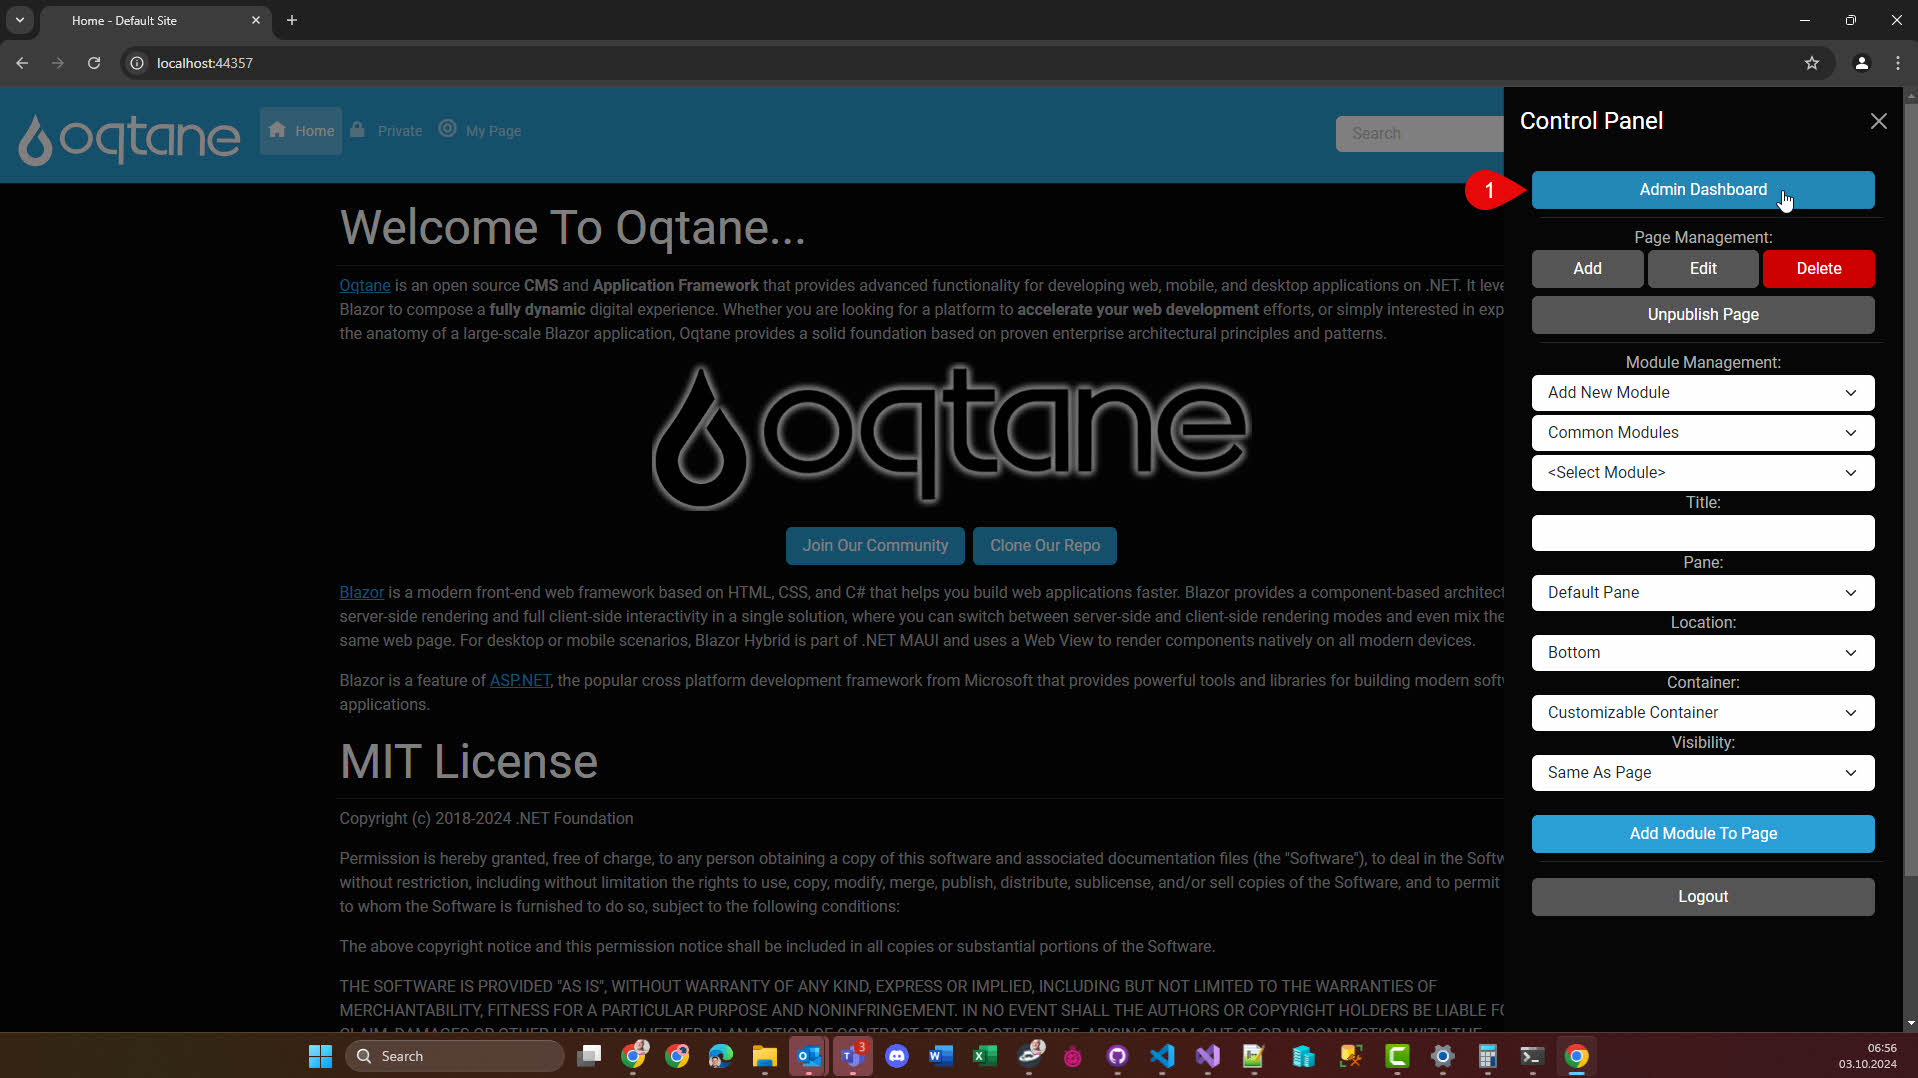
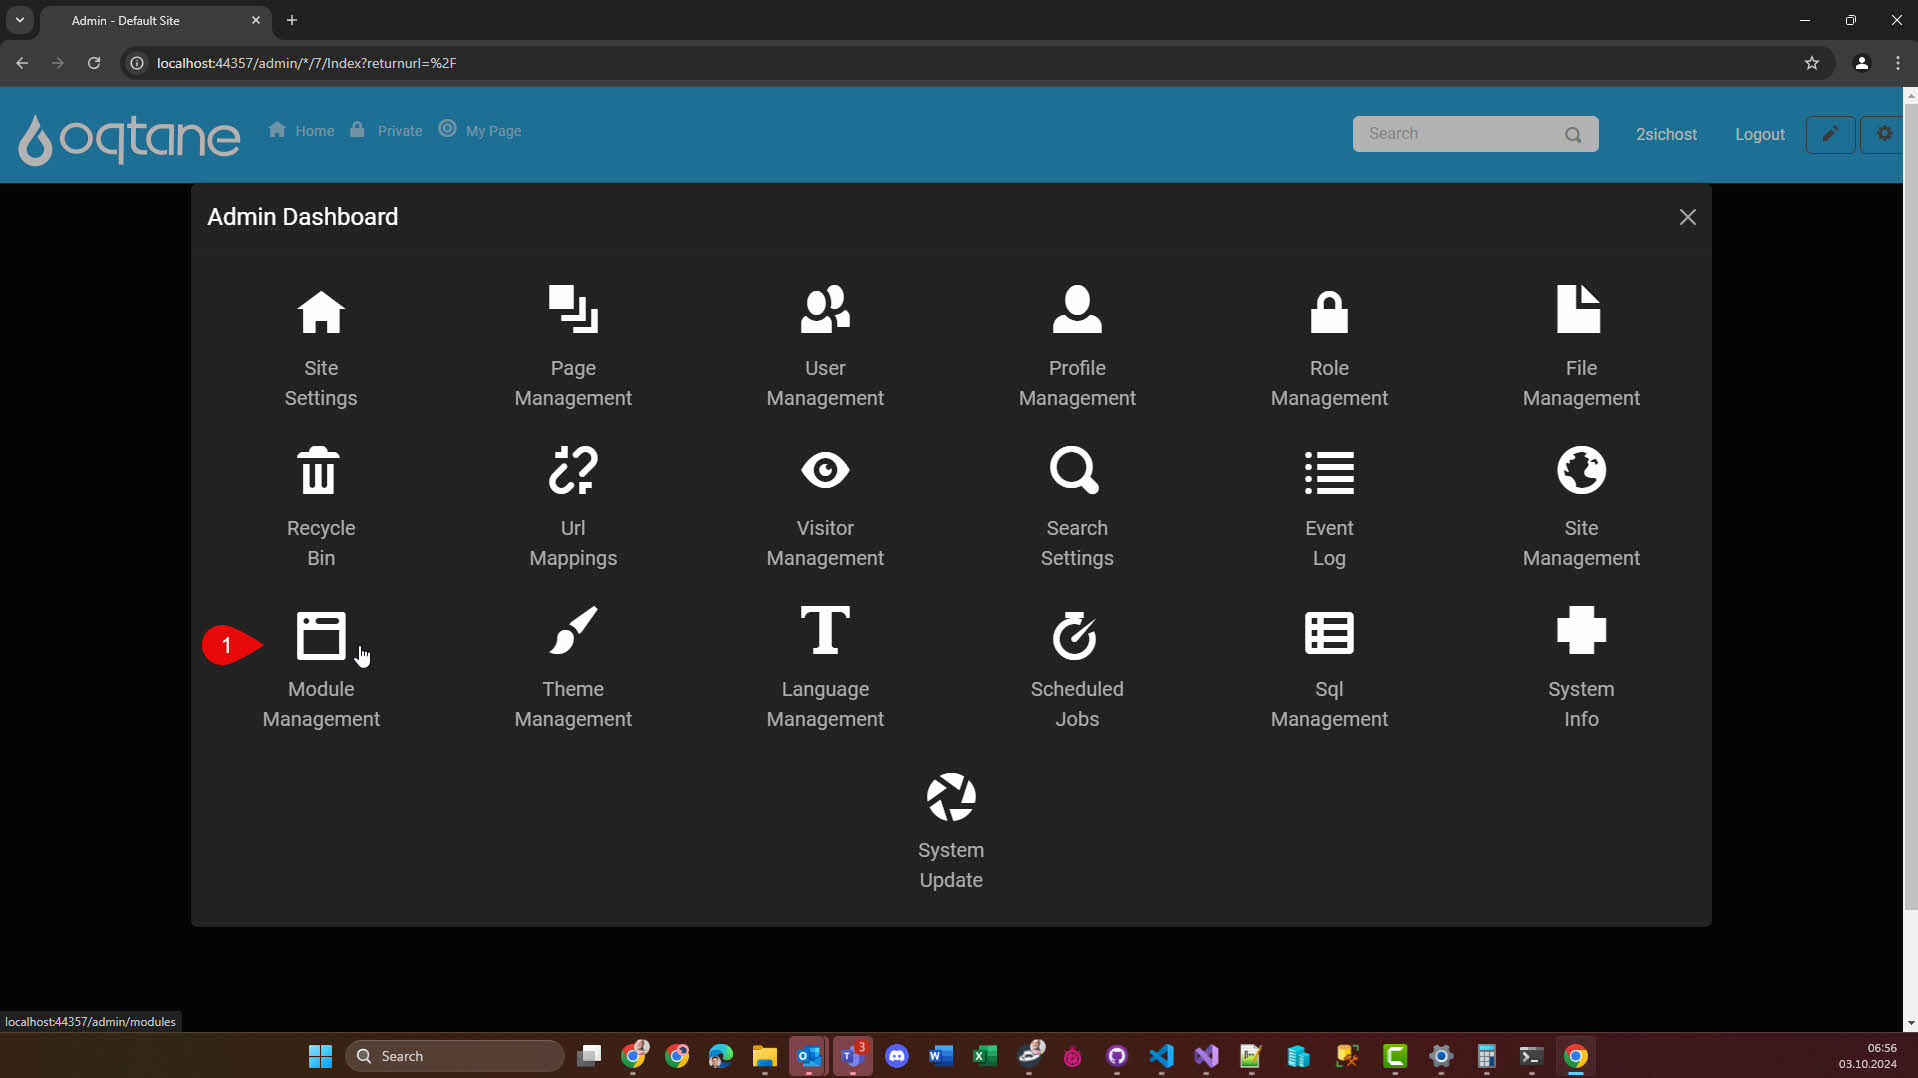
- login as super user
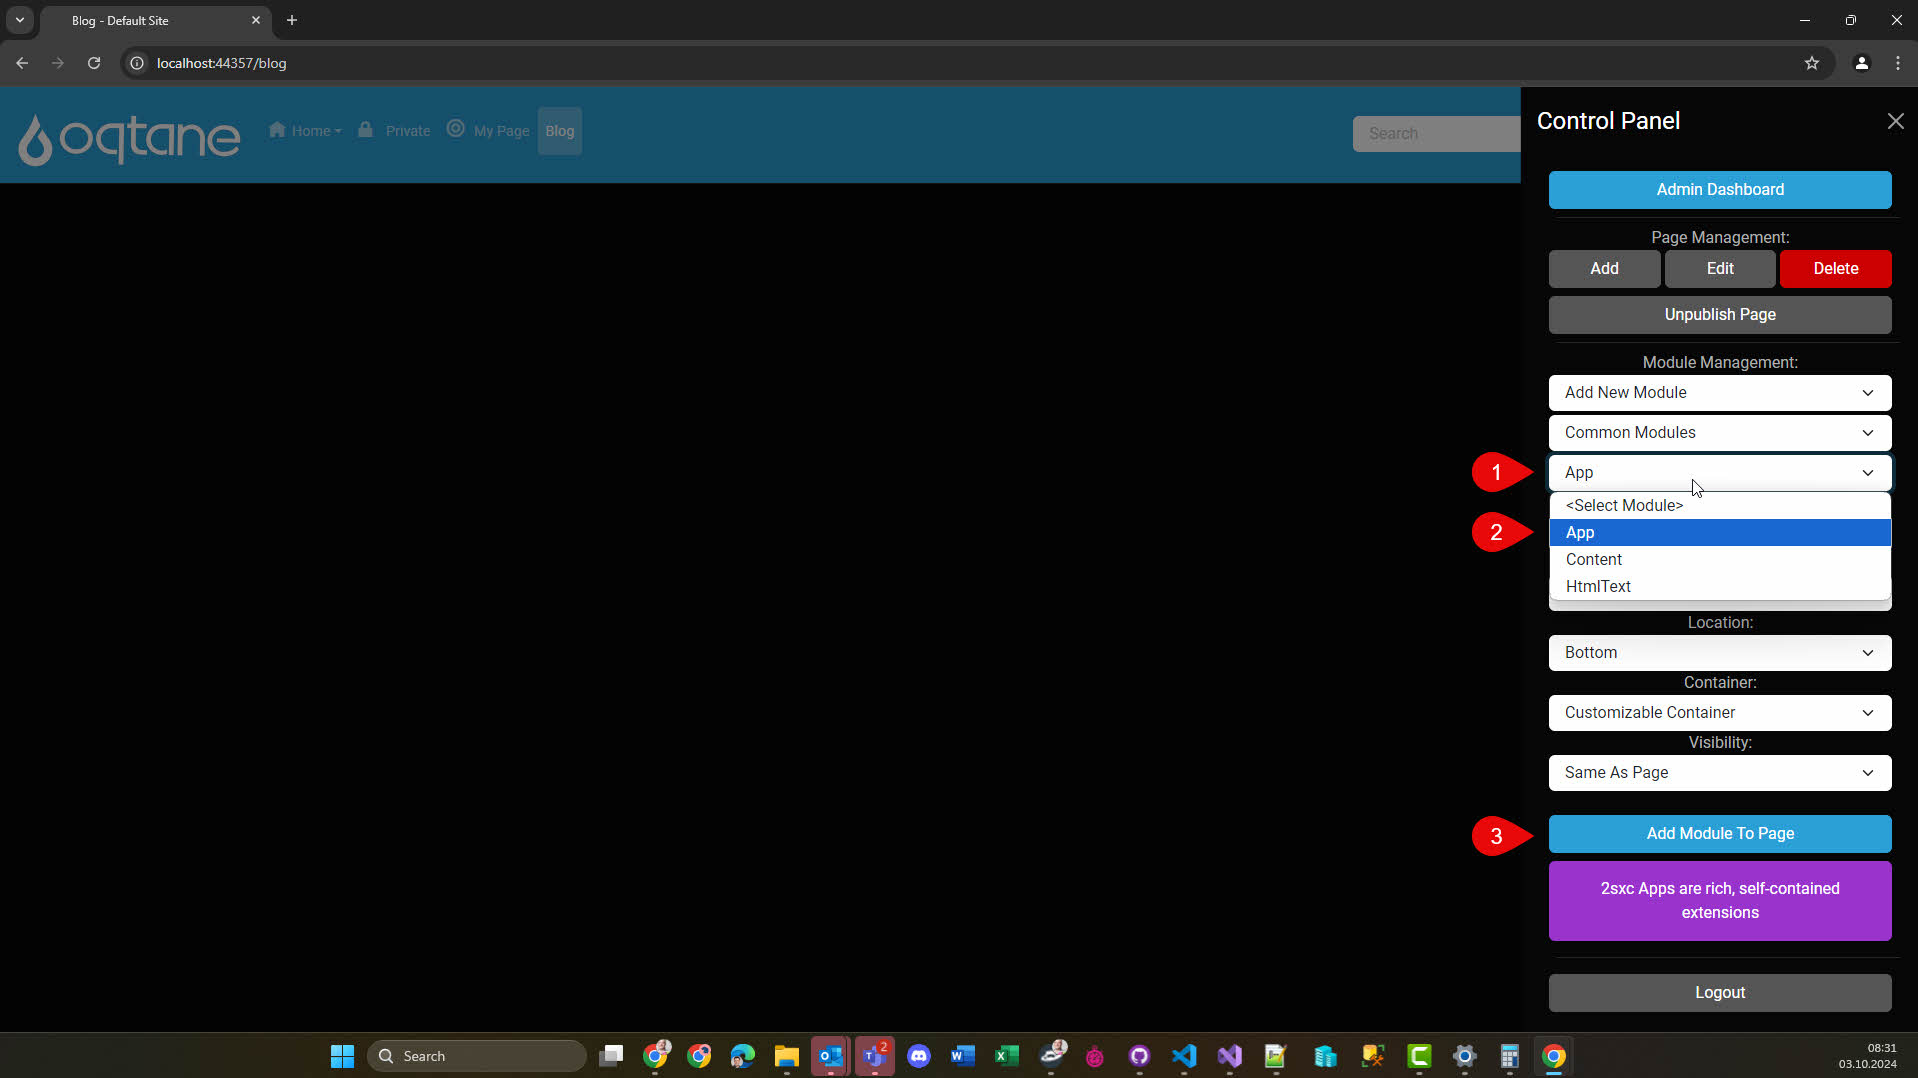
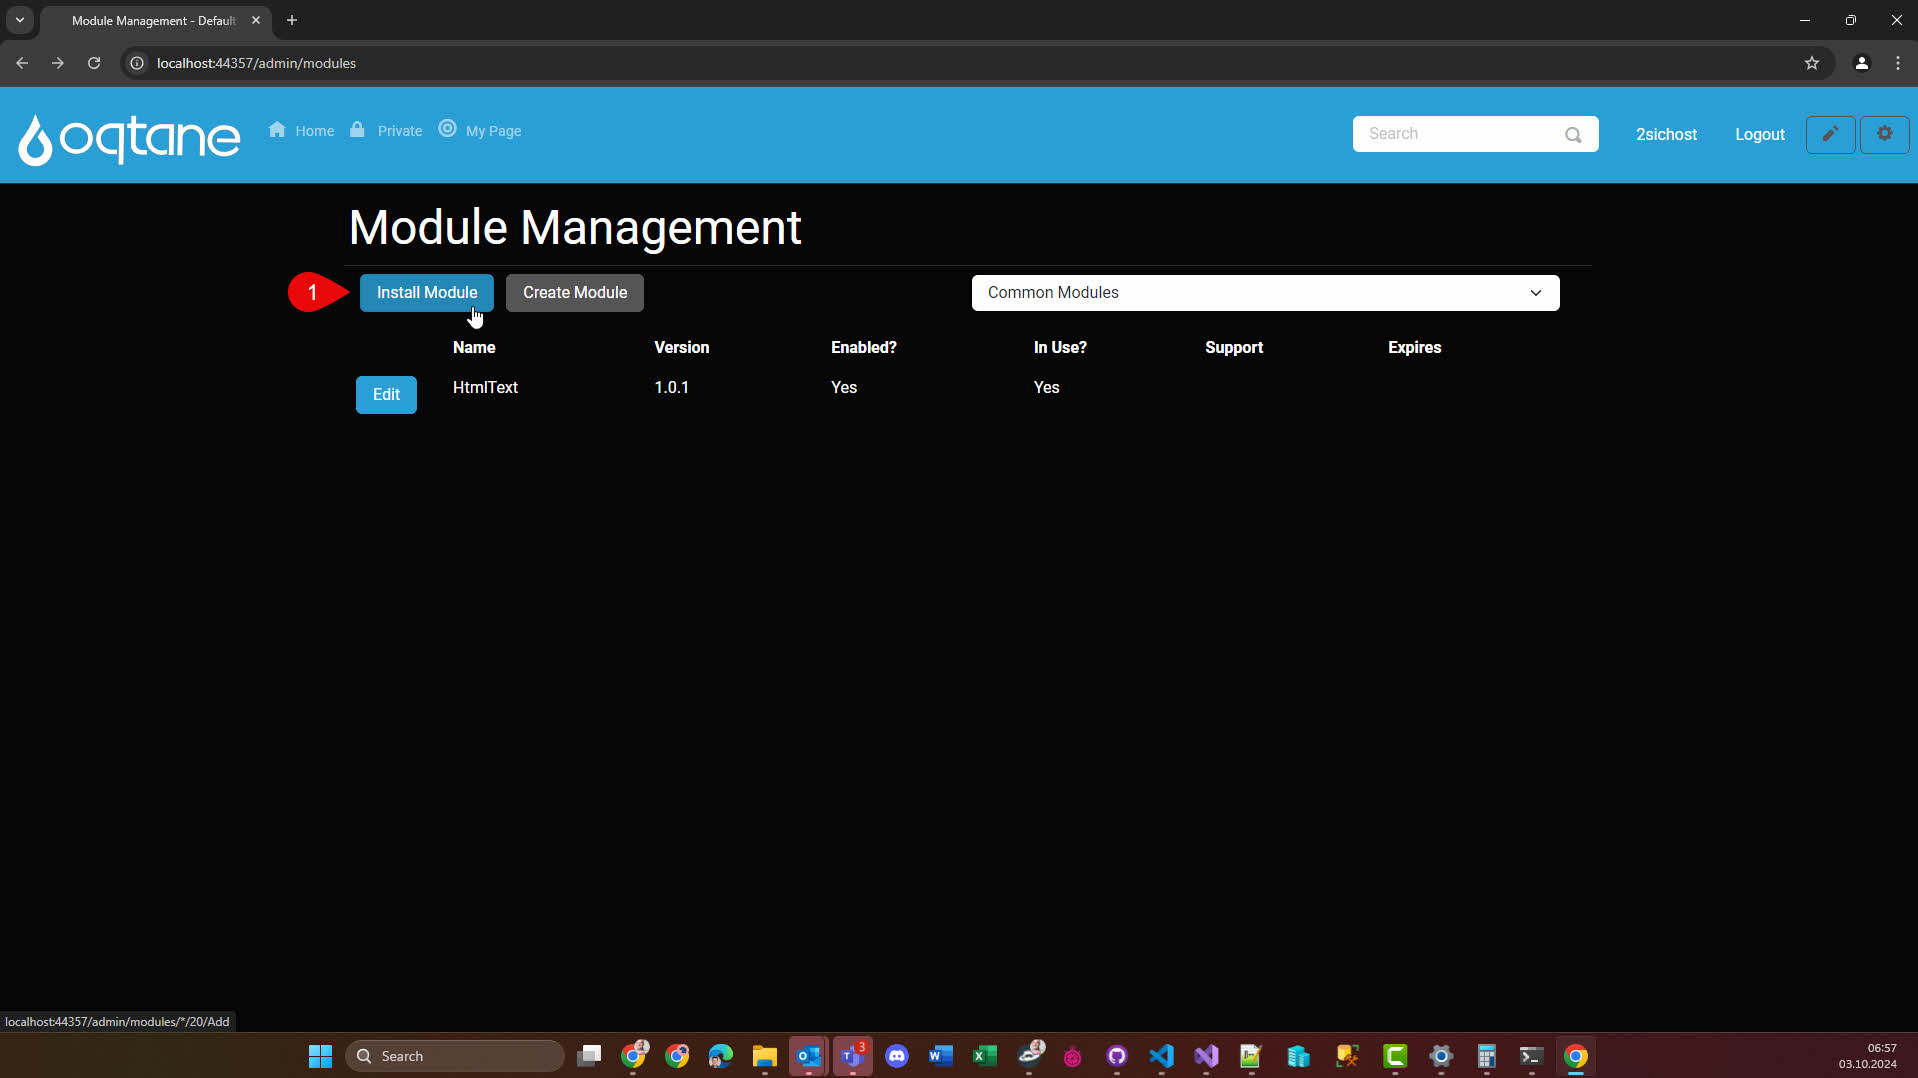
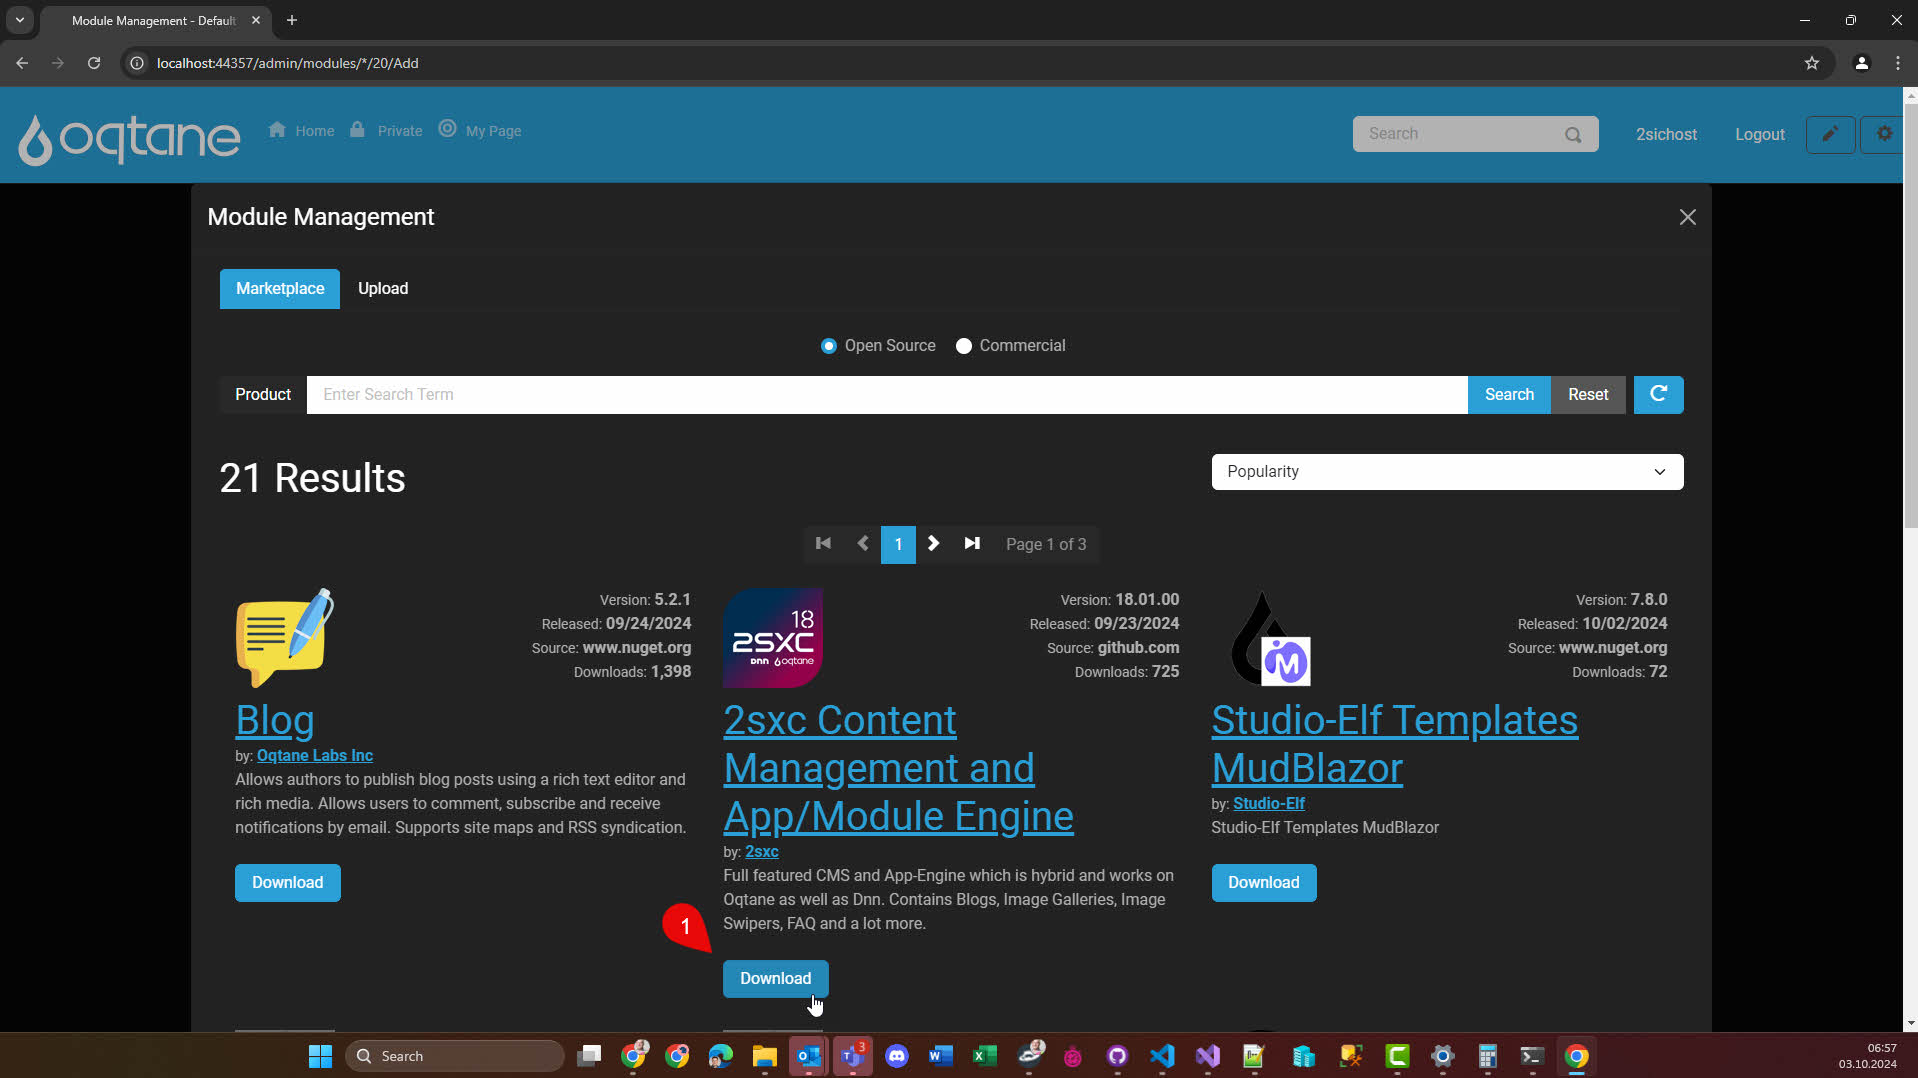
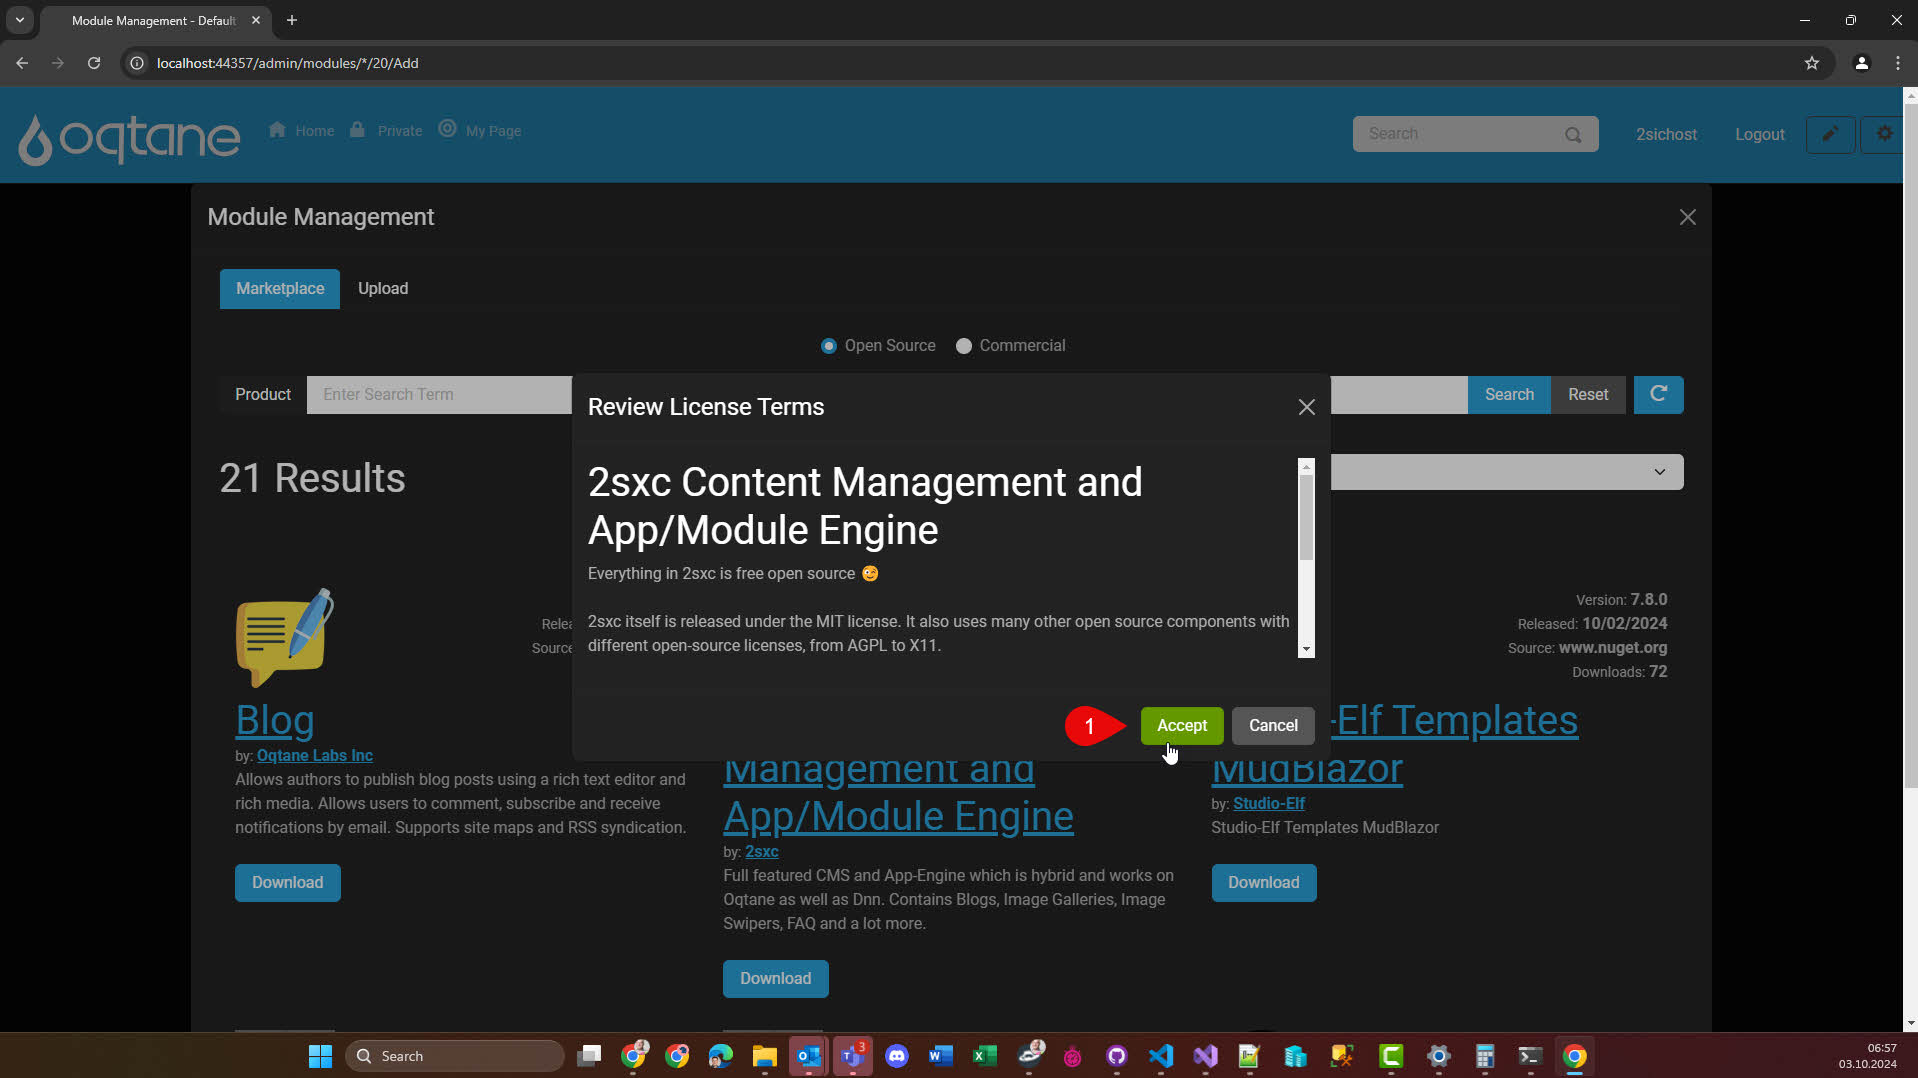
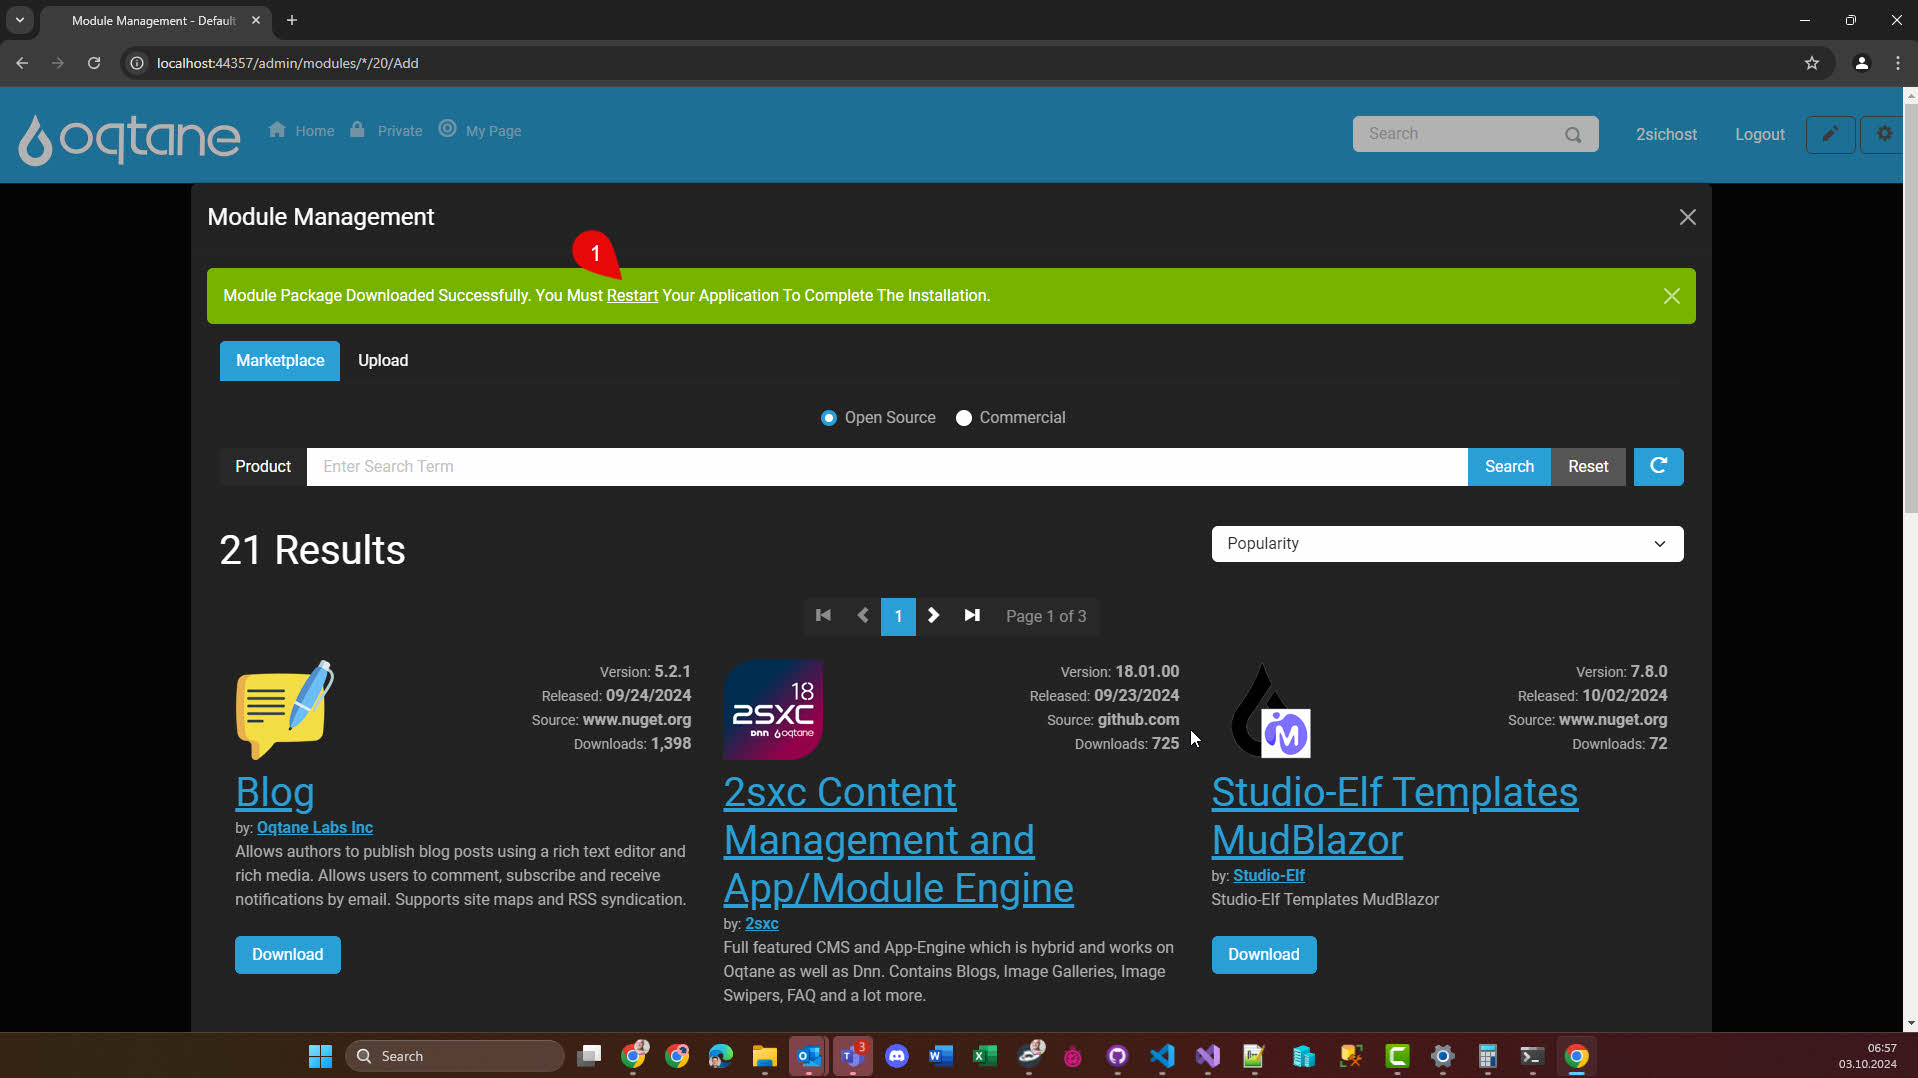
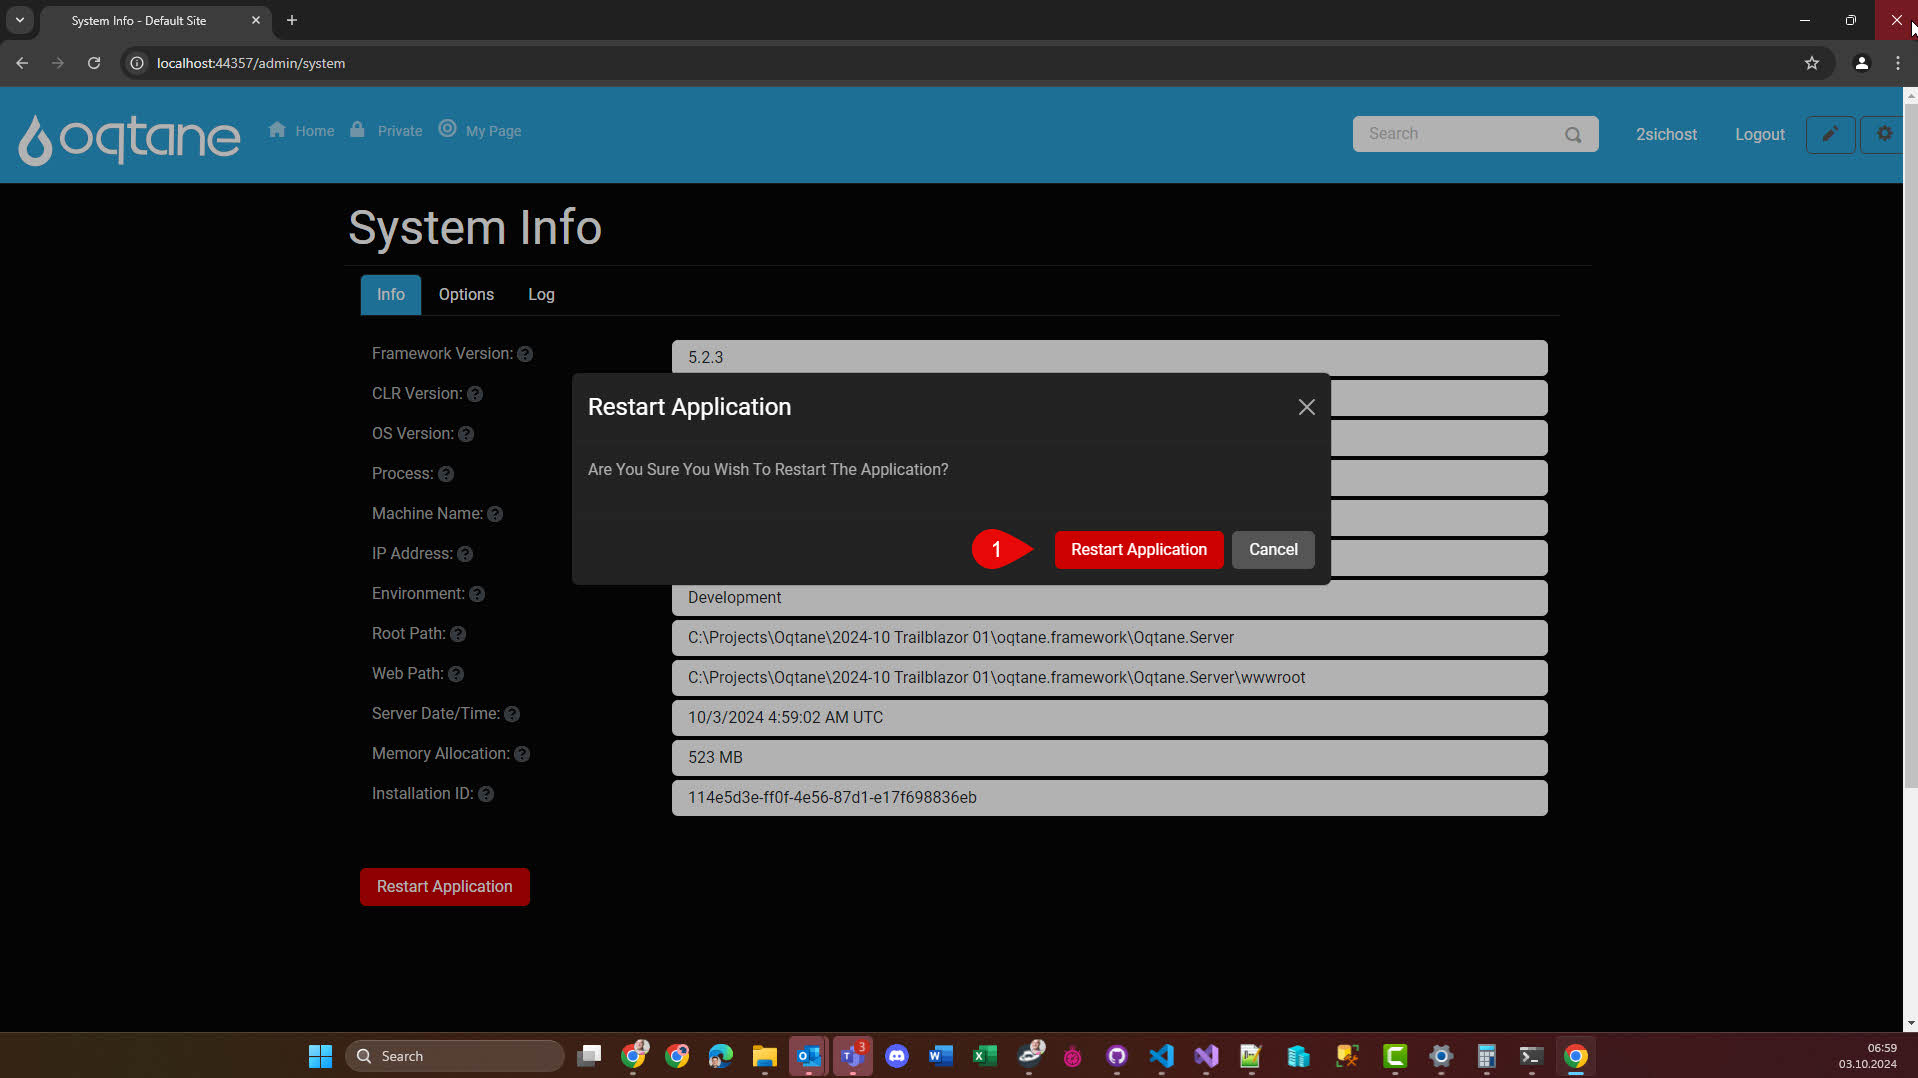
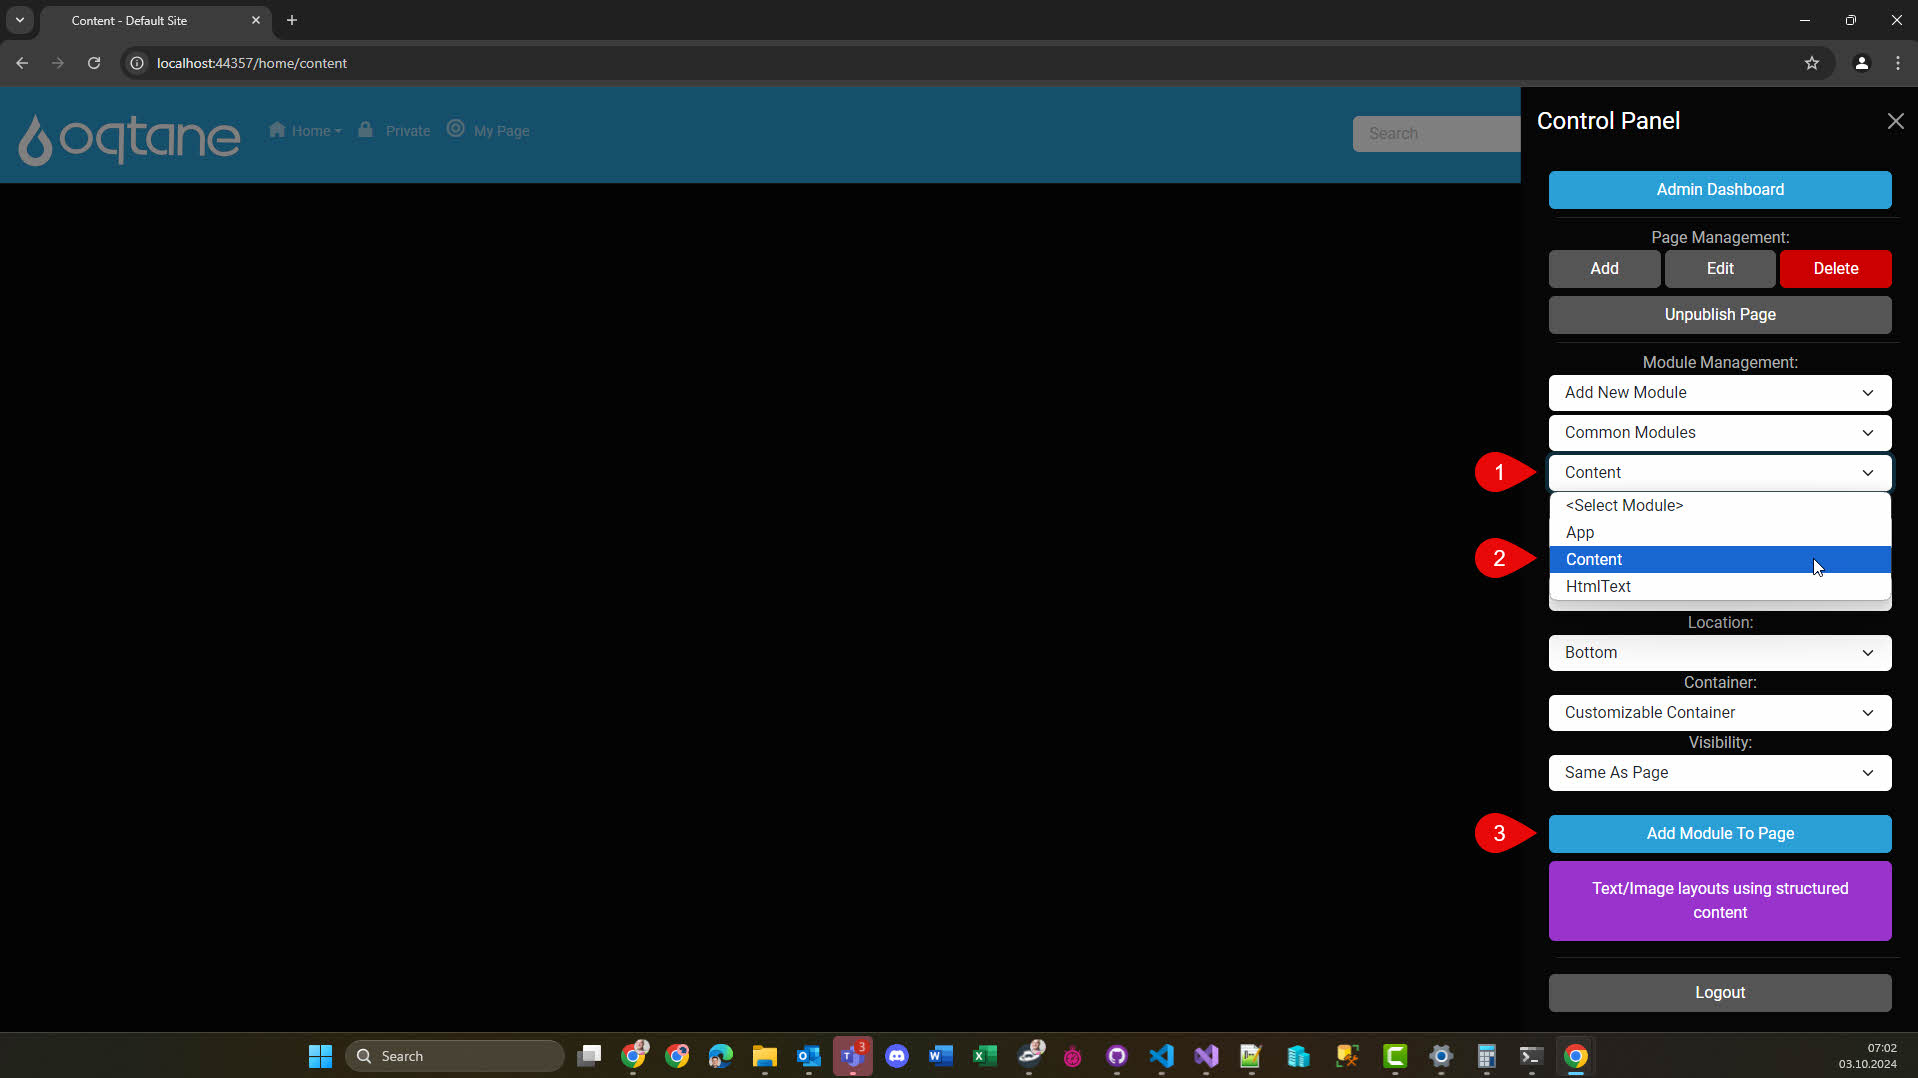
2. Install the CMS Extension Module 2sxc
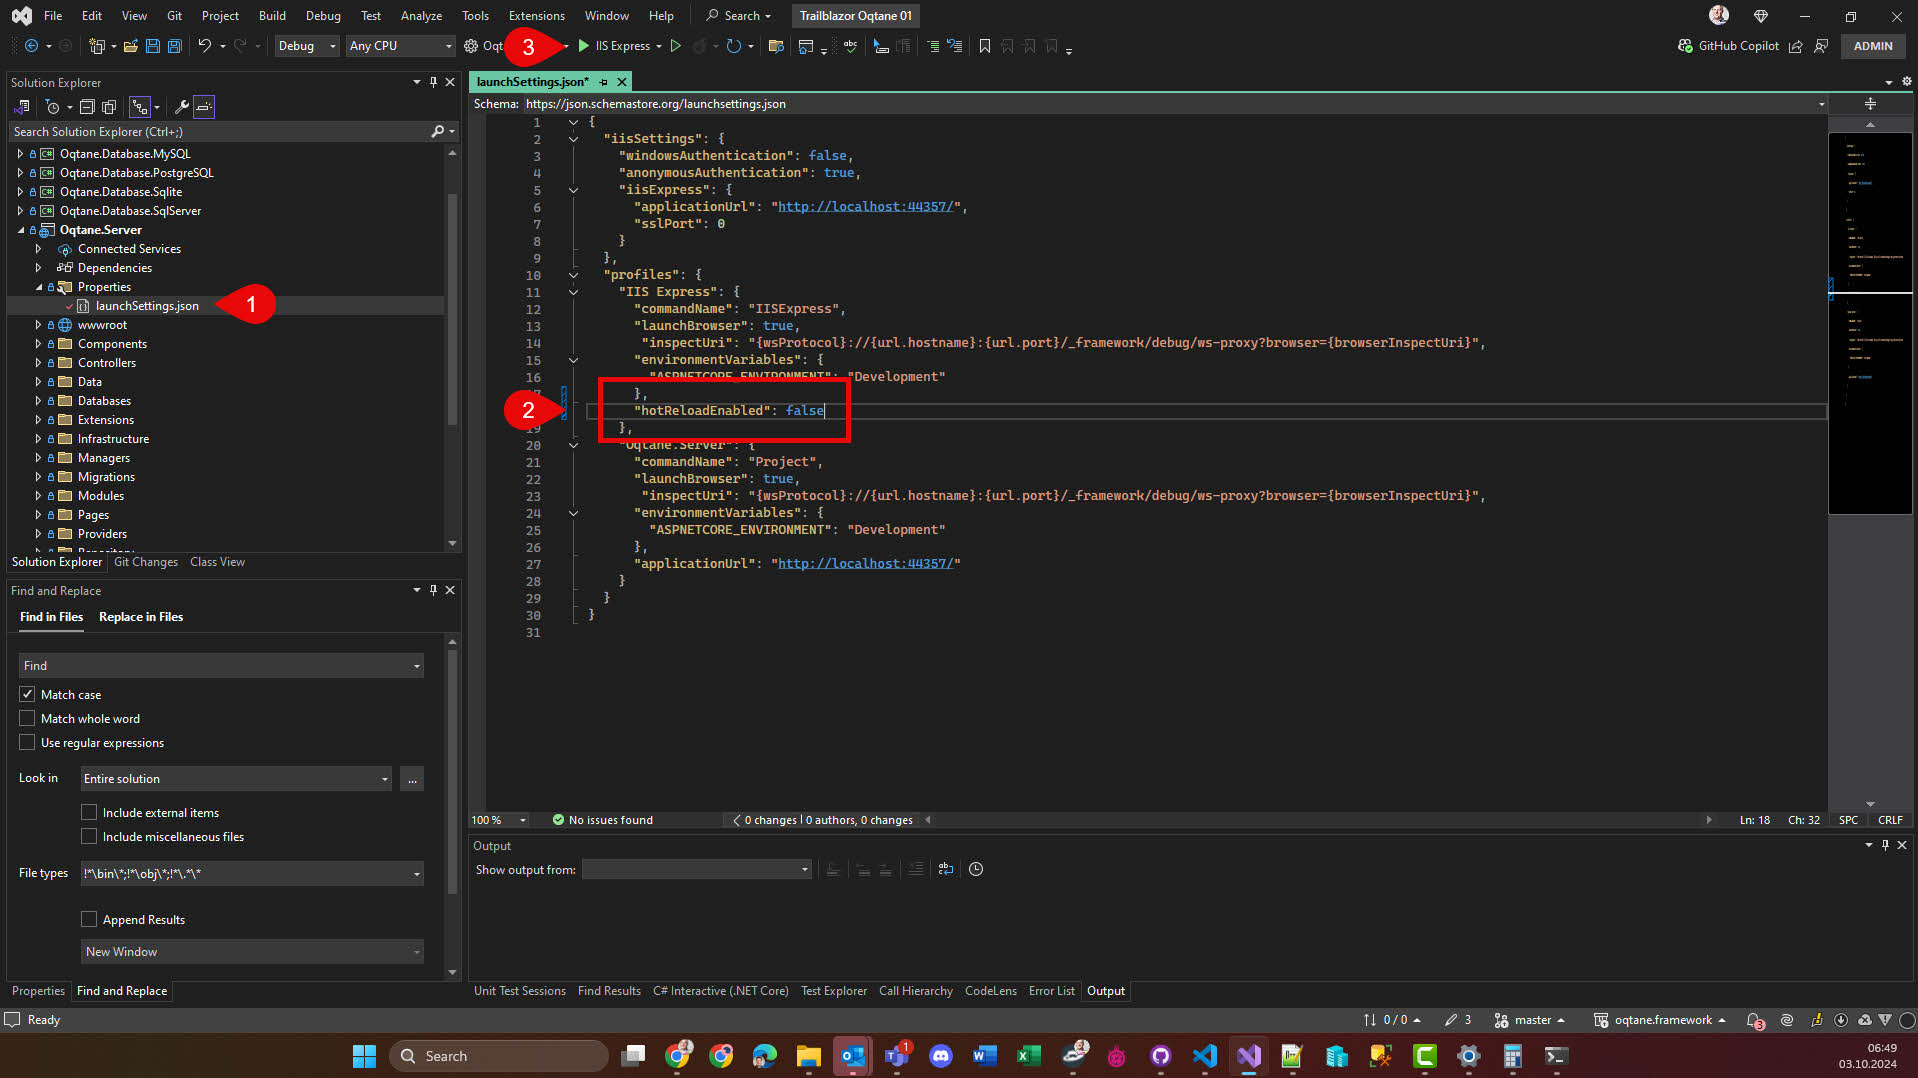
Important
.net 8 introduced a HotReload feature which causes trouble in development. Make sure you disable it using these instructions.
These slides show how to install the 2sxc module, which is a powerful content management system (CMS) for Oqtane.

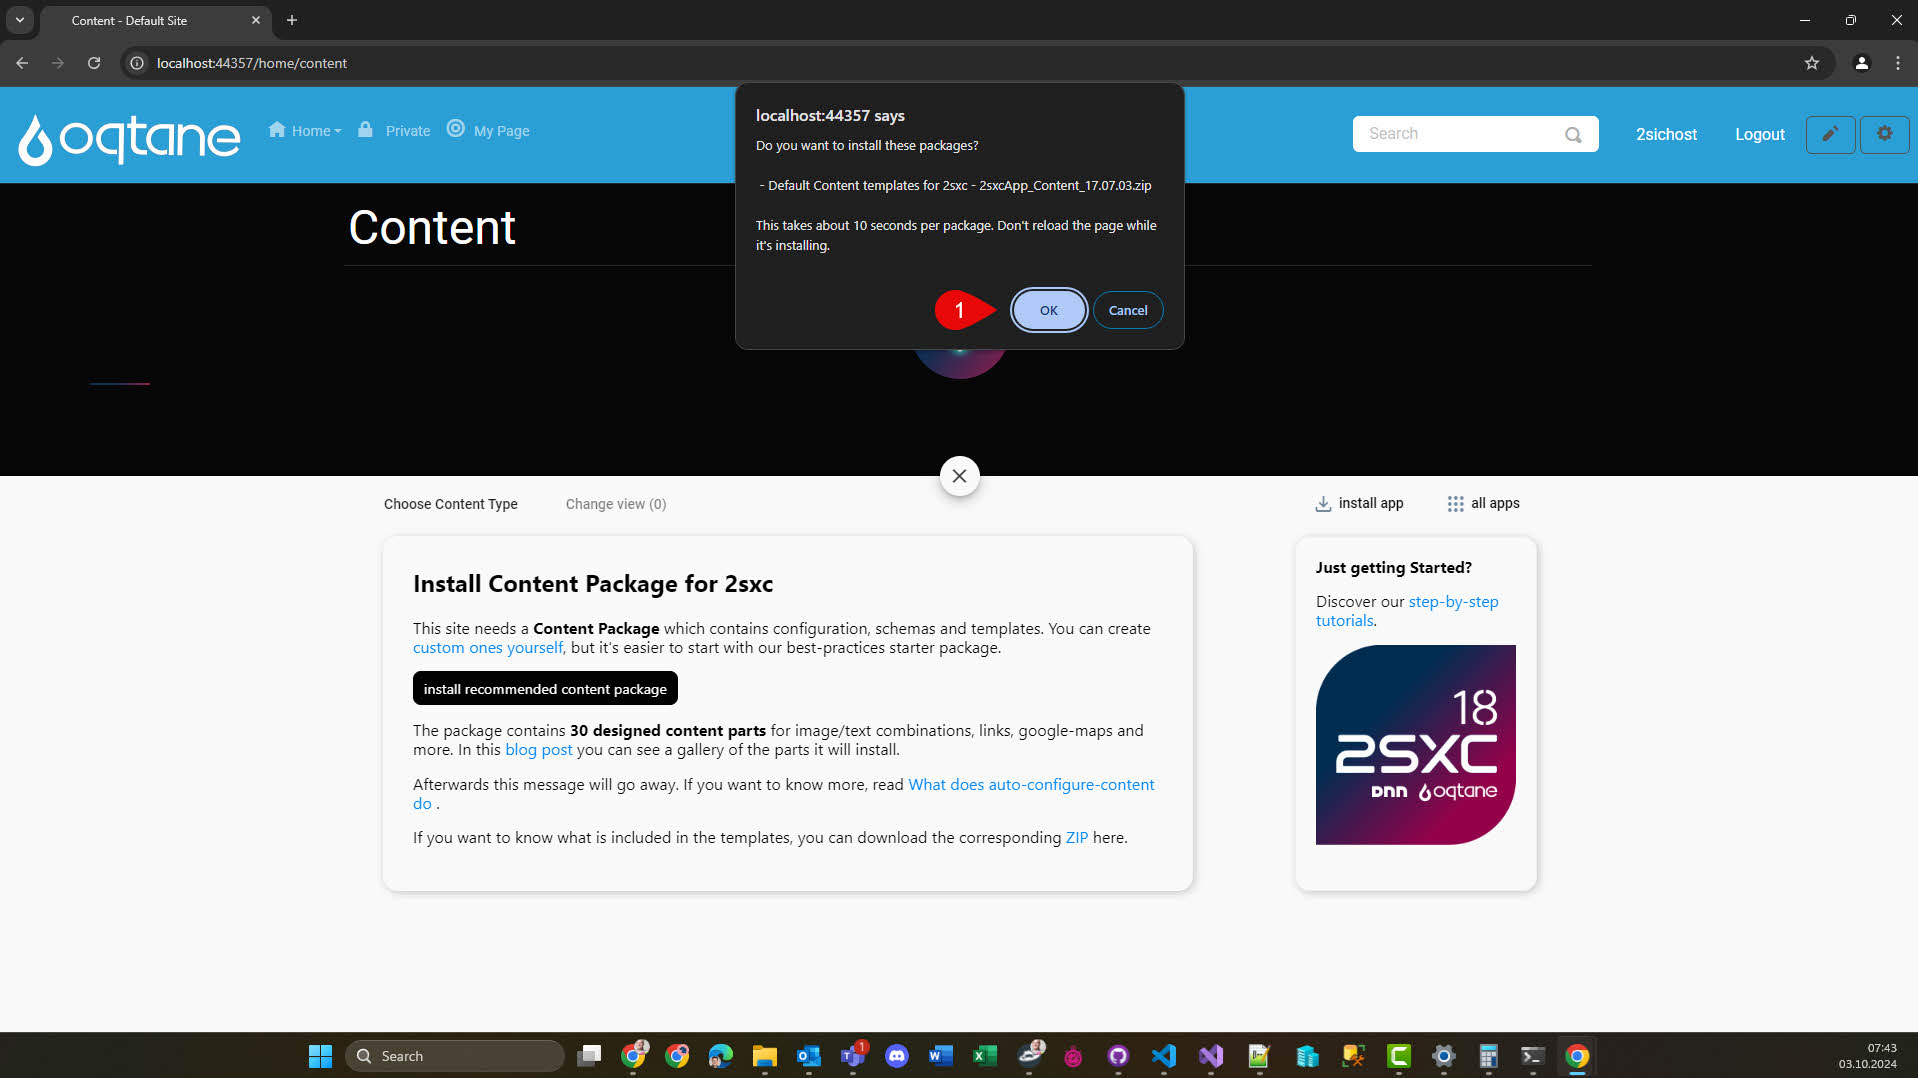
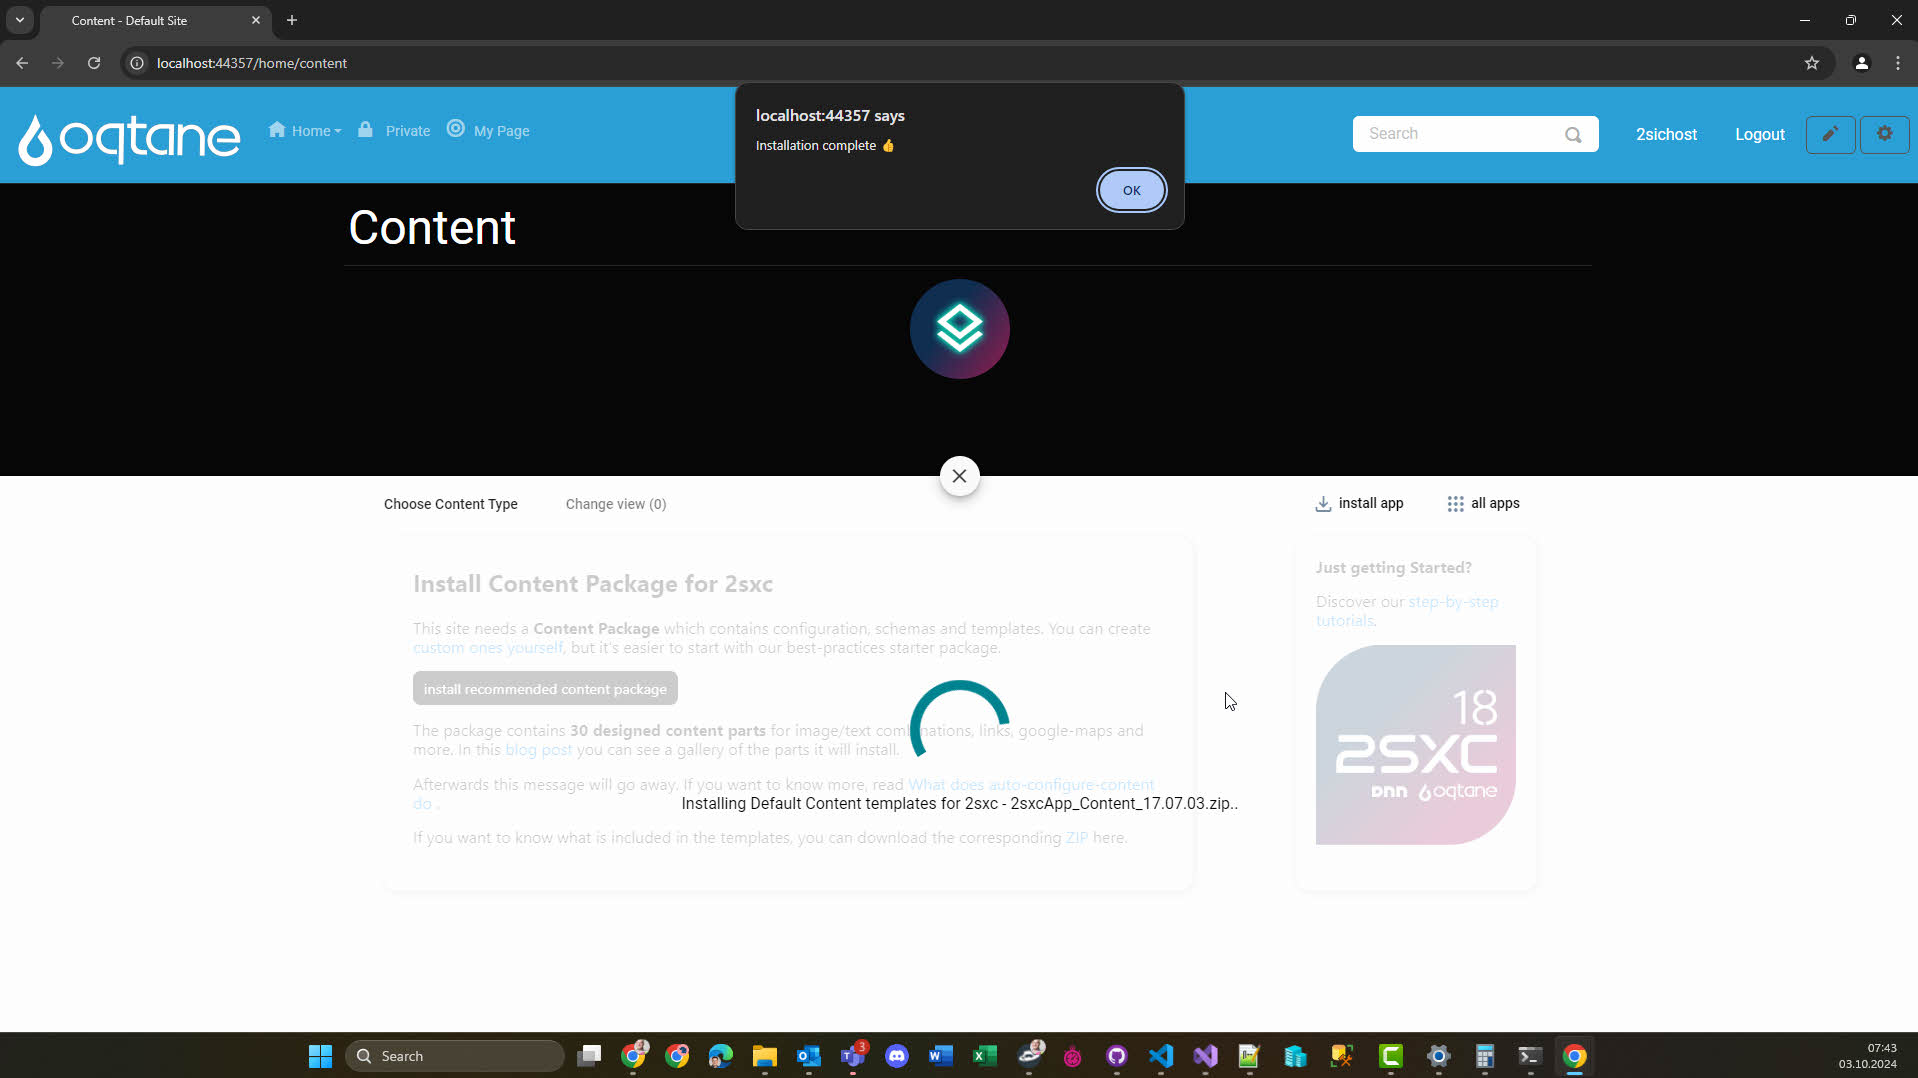
3. Install the Default Content Configuration
These slides show how to install the default content configuration for the 2sxc module.
The content configuration basically tells the system what kinds of content exist (e.g. videos, text/images, etc.) and how they are presented to the end-user.
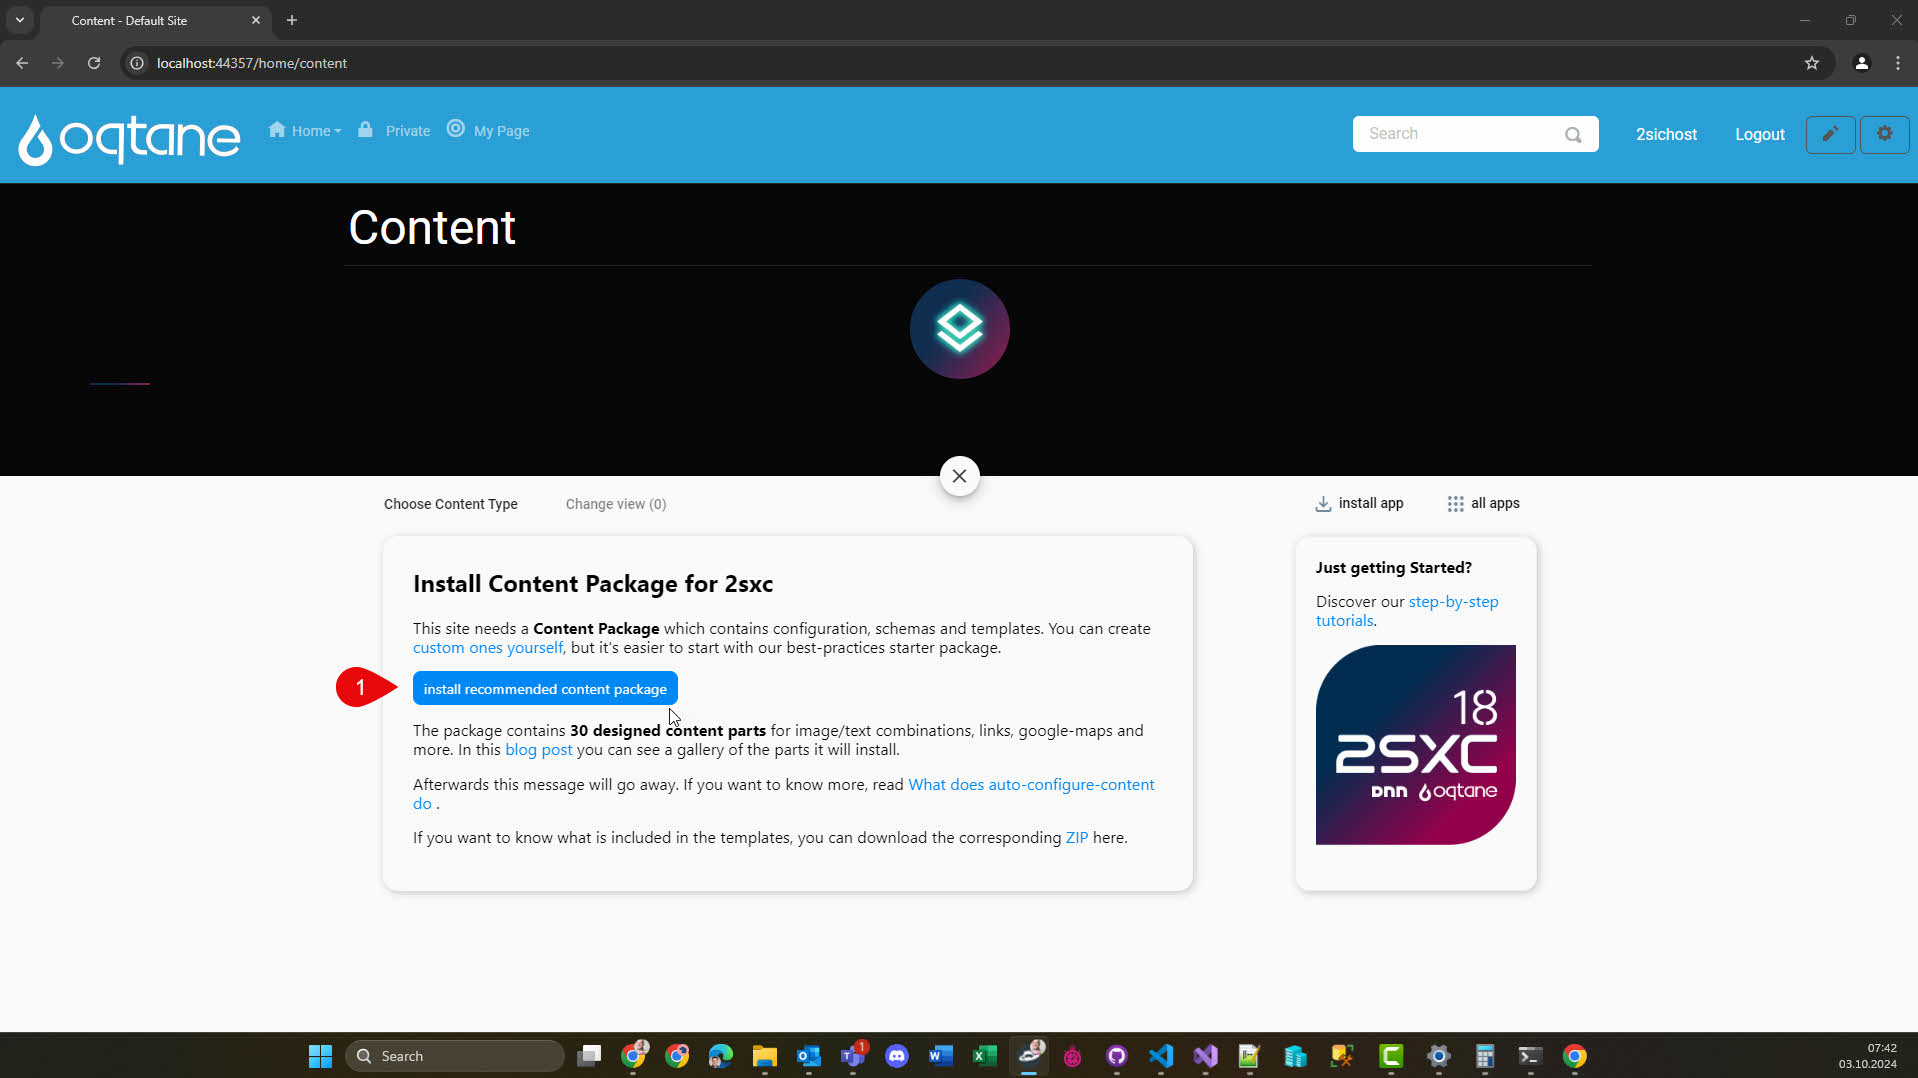
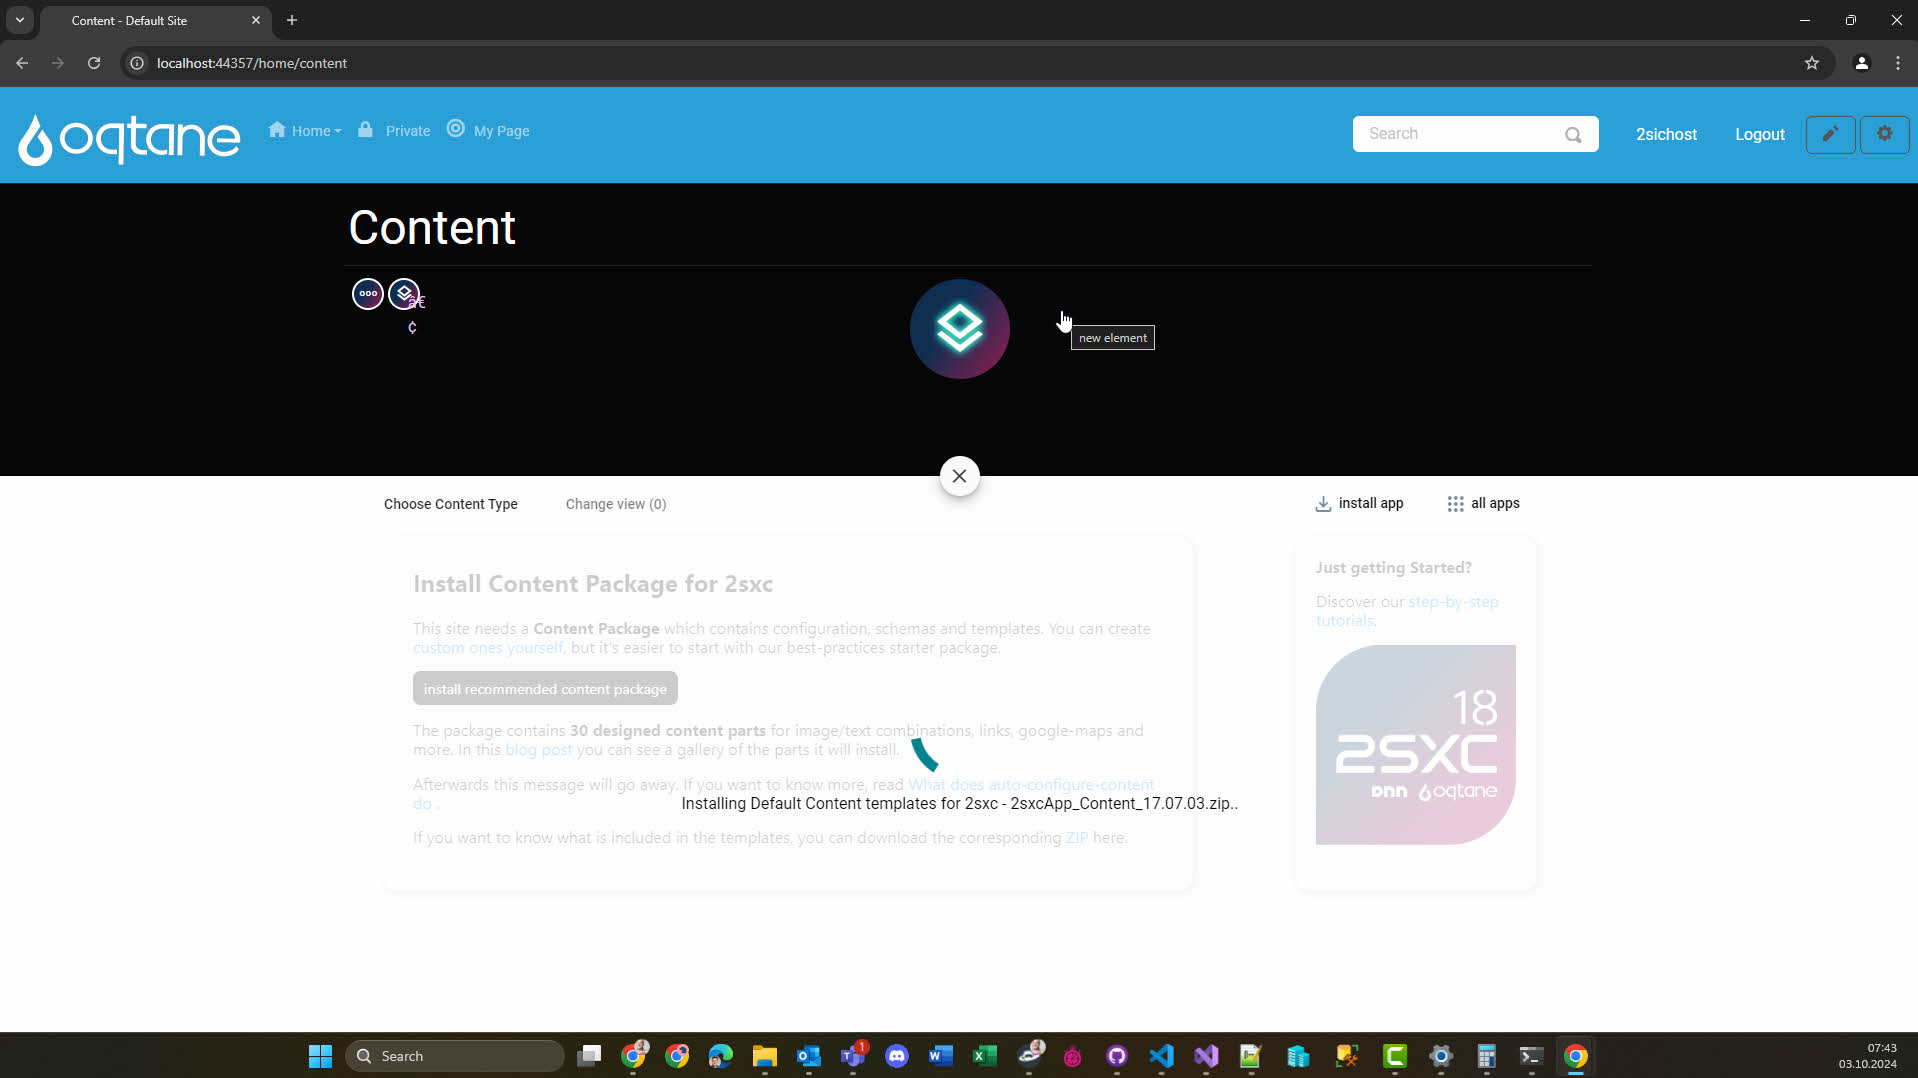
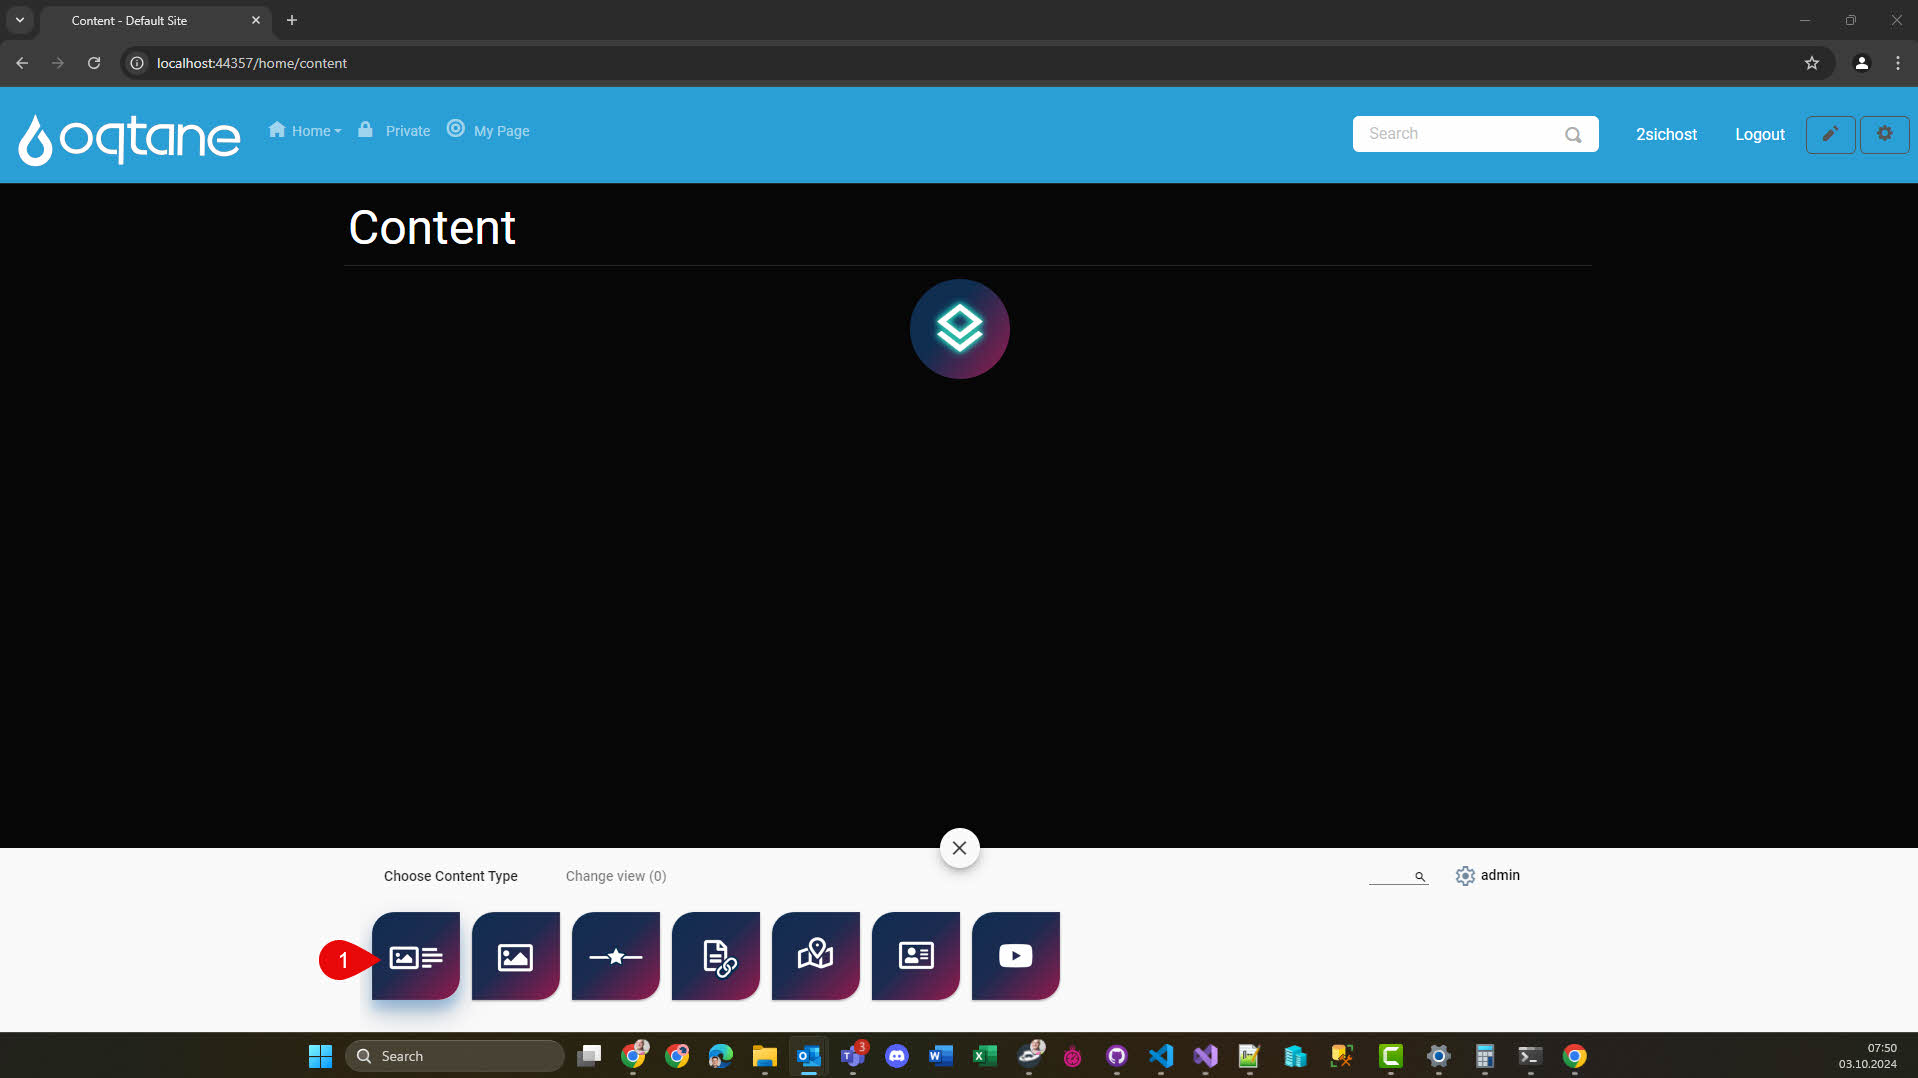
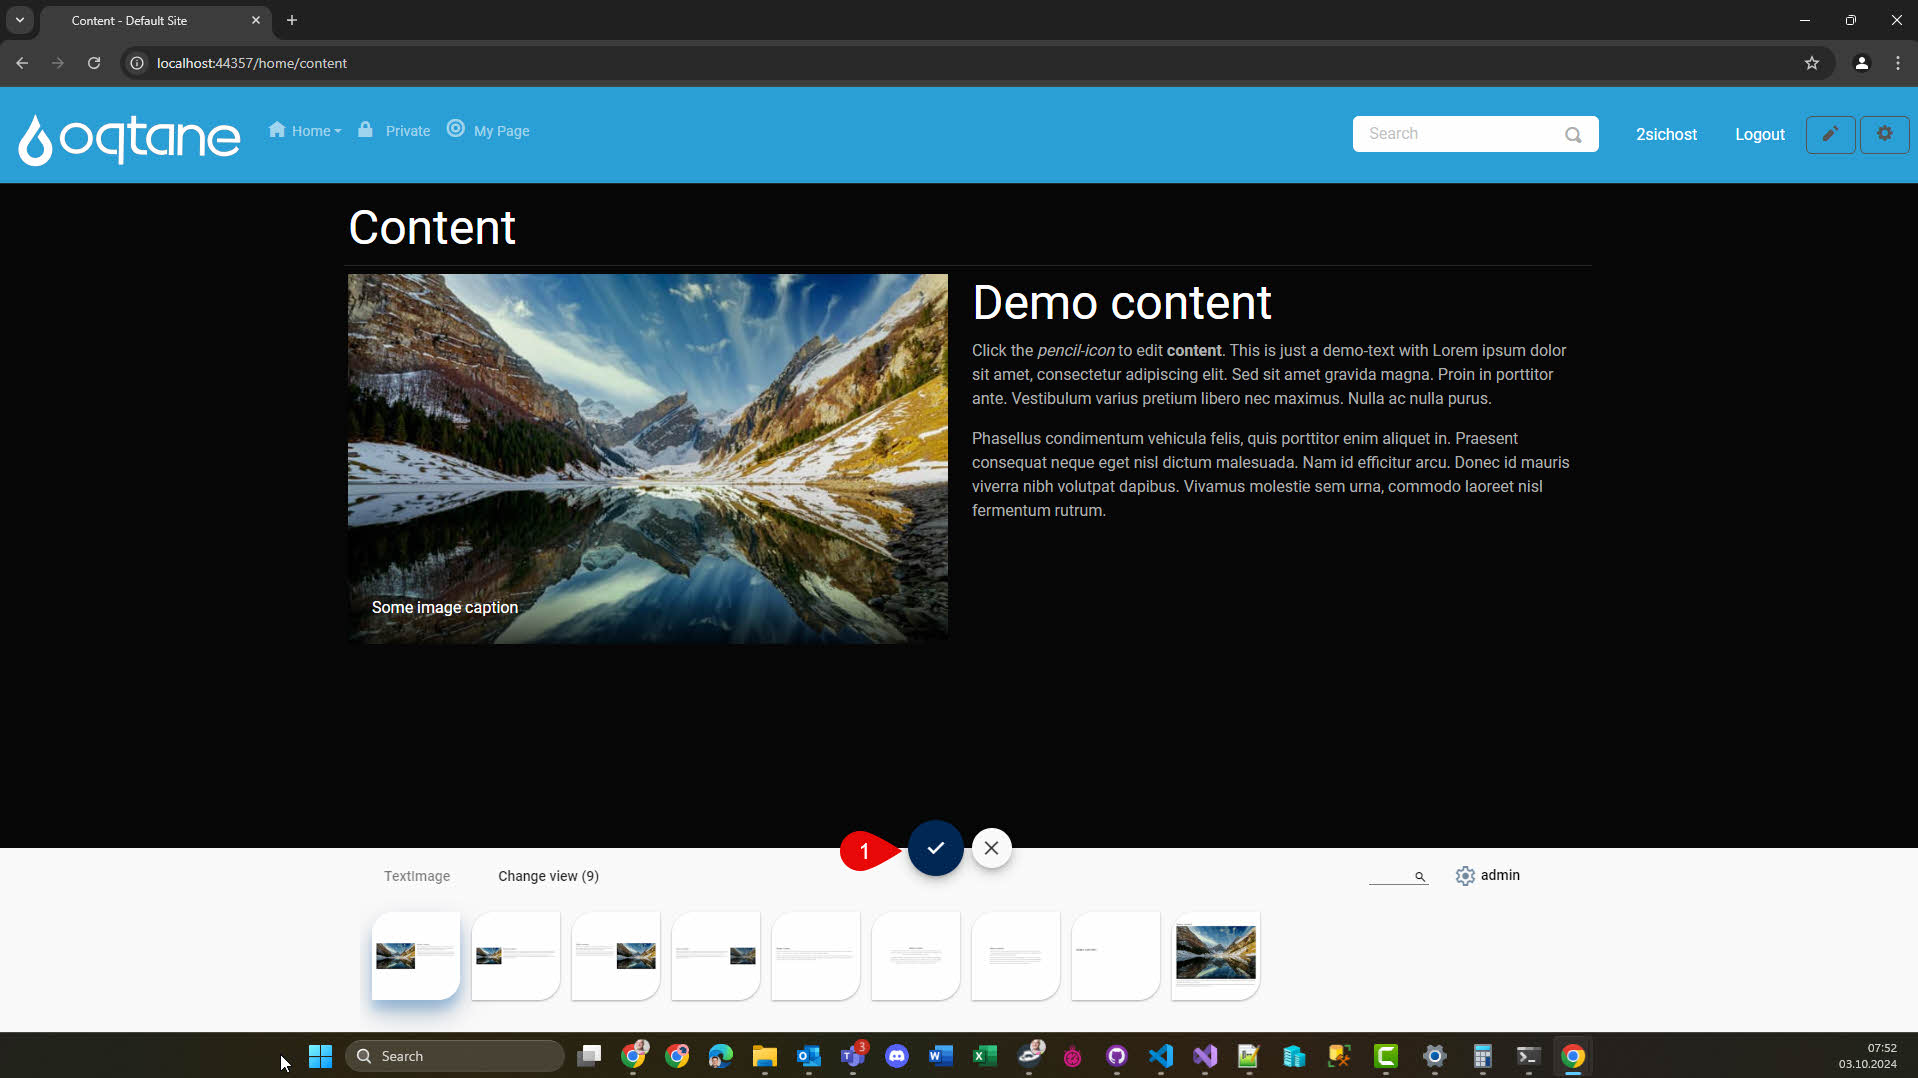
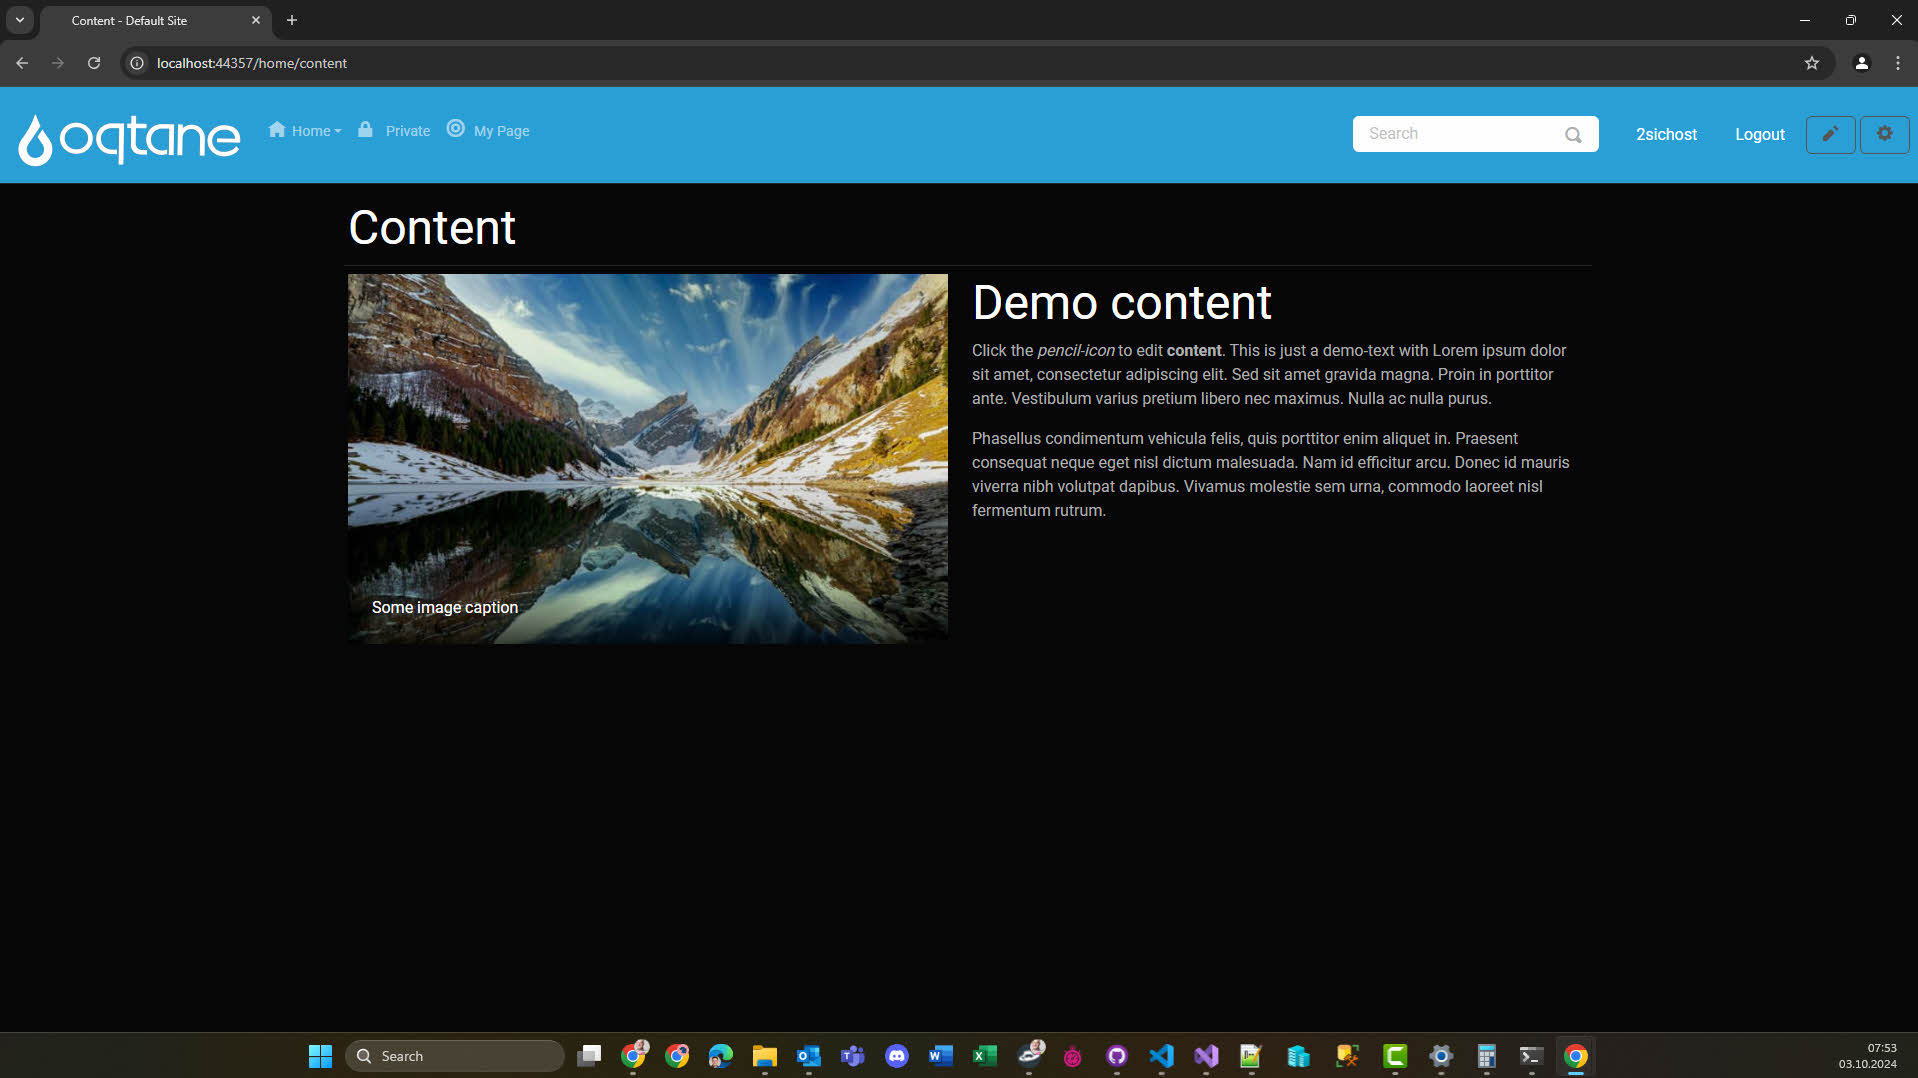
Once it's installed, you can verify it works by trying to add content.
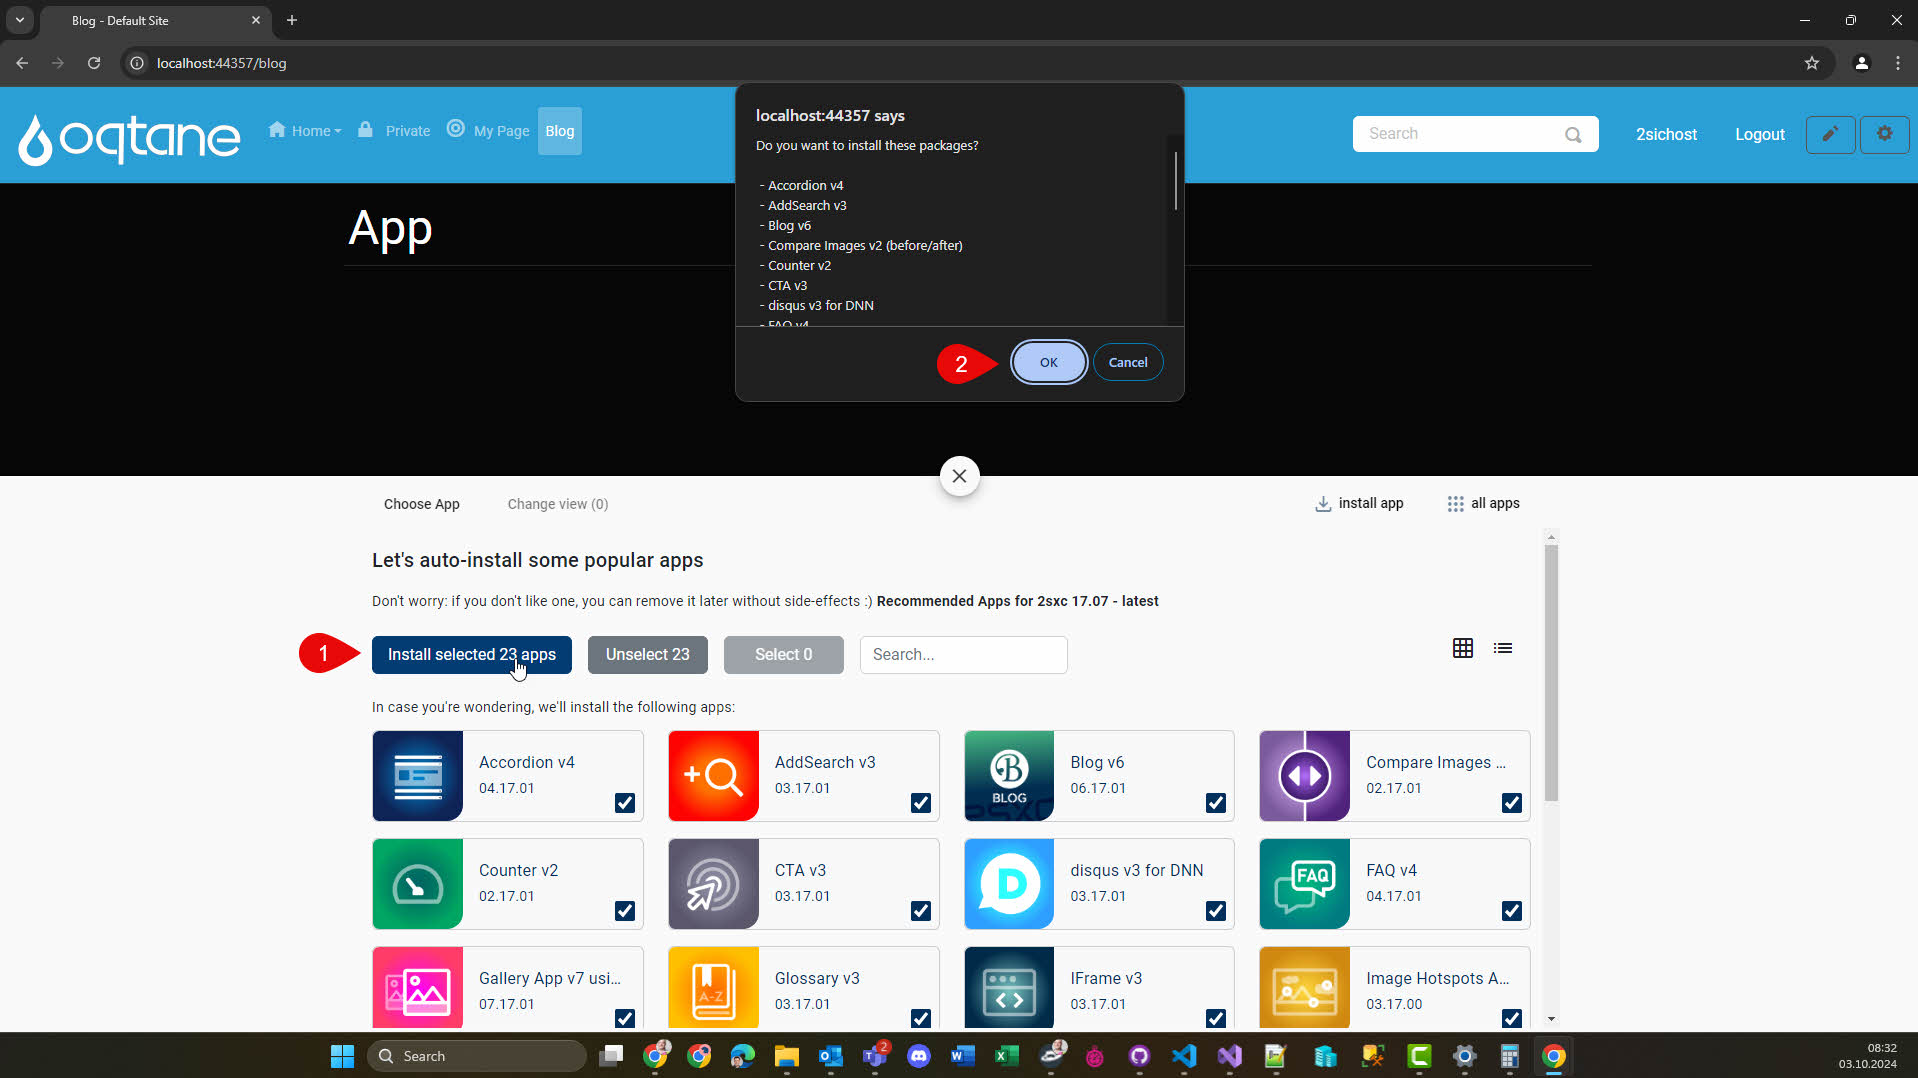
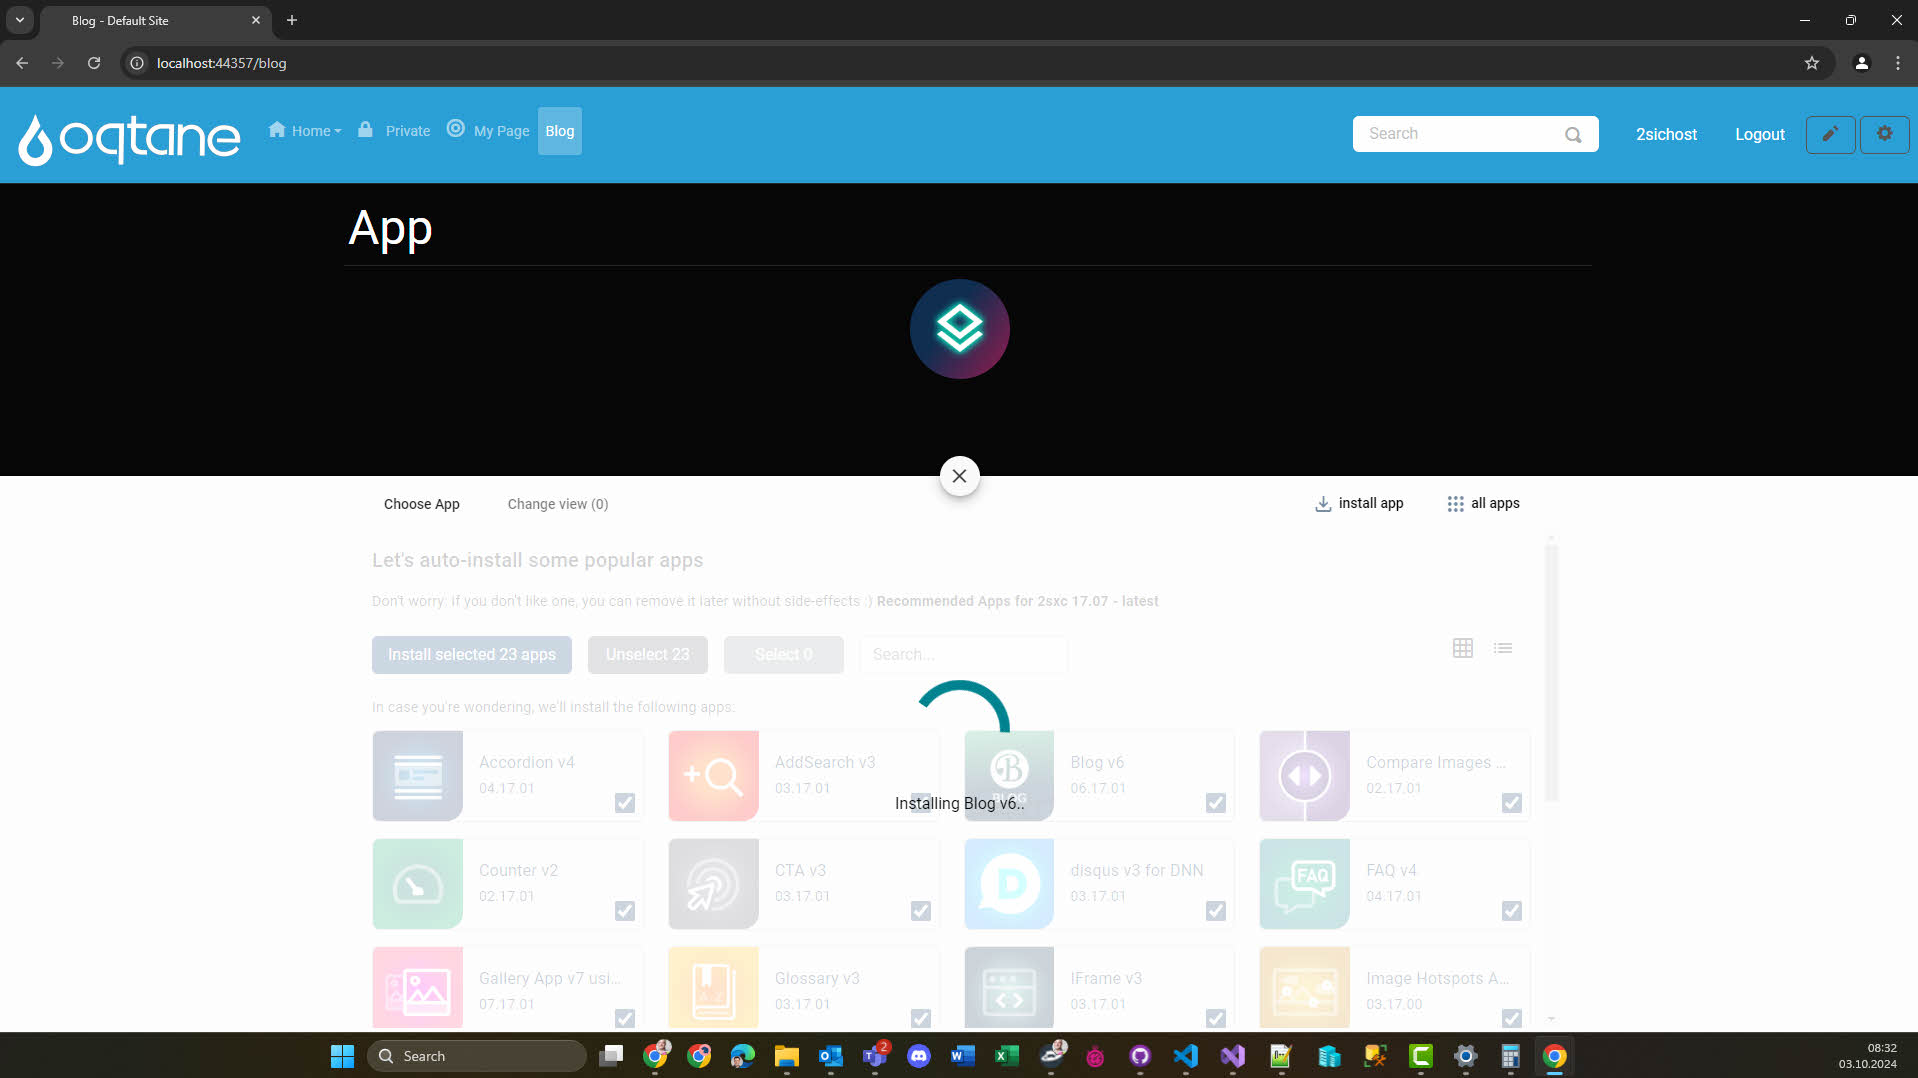
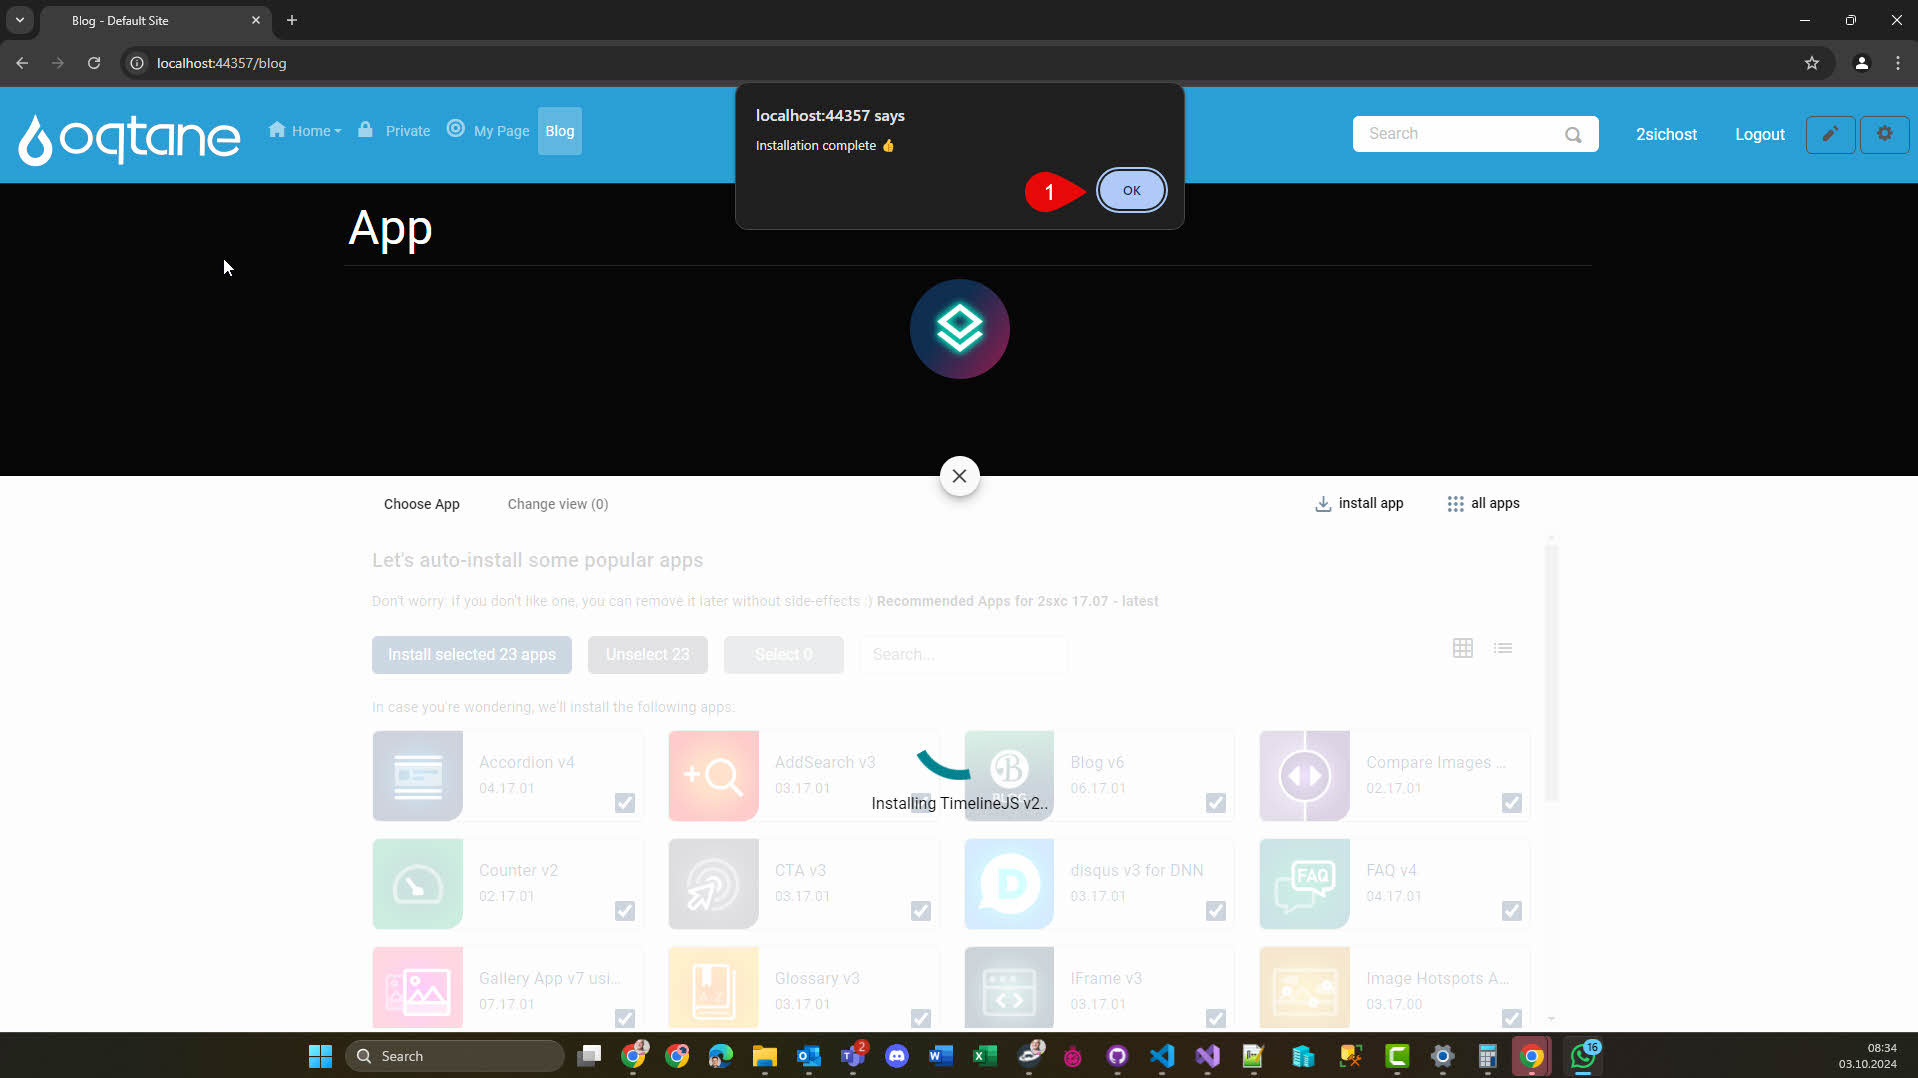
4. Add an App
Apps are packages of functionality which can be added to your Oqtane installation. Typical examples are Blog, News, Galleries, Swipers, Real-Estate-Listings, etc.